View Saved Images
Back to: Exploring the Image Hopper Plugin
In this lesson, we cover how you can view the images that have been uploaded by users from your admin area.
Before you can view anything, you will need to upload some images to your form. From the Form Editor, Preview the form and select (or drag) an image to the upload area of the Image Hopper field. Once the image is uploaded, submit the form. Repeat this process, but this time upload multiple images instead of just one.
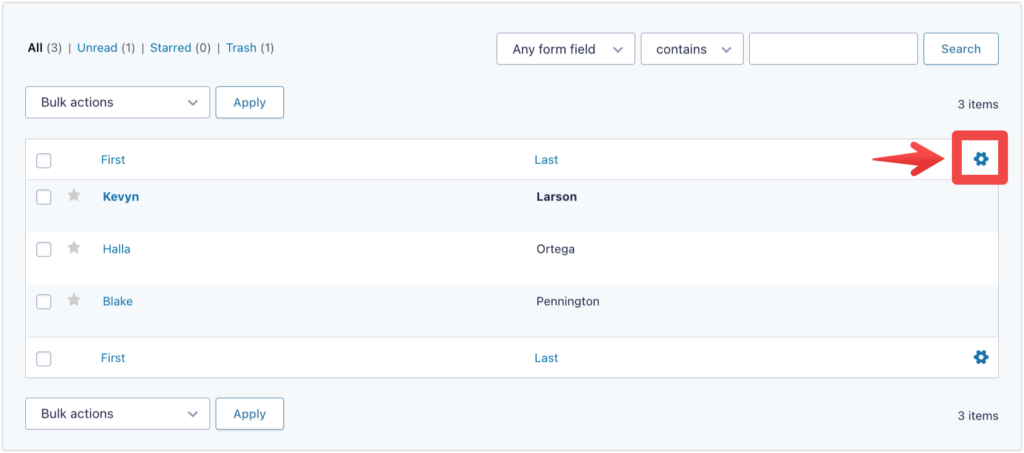
When you navigate to the form’s Entry List page, you’ll see two entries listed. If you don’t see the Image Hopper column on the page, you can select the ⚙️ cog icon in the top-right of the Entries Table, and drag Image Hopper from the Inactive Columns to Active Columns.
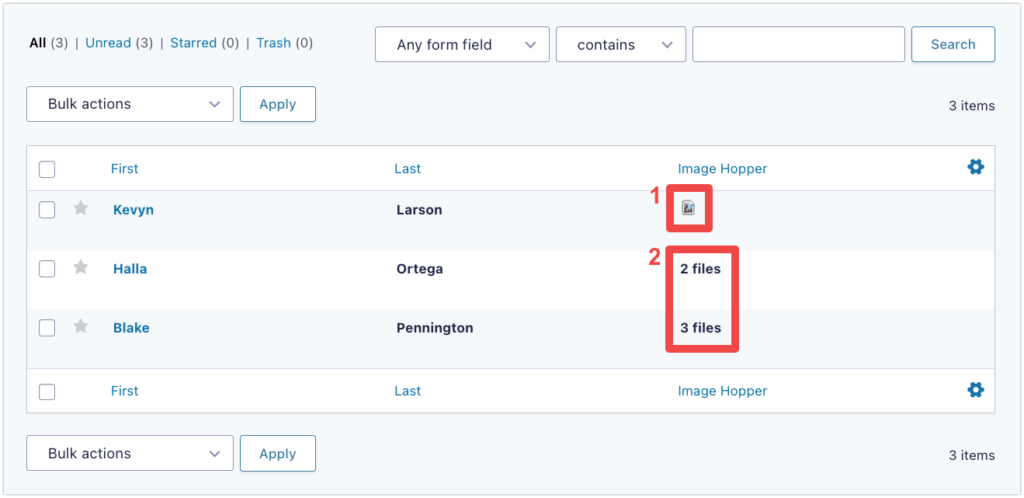
When you look at the Entry List Page, you will see two things under the Image Hopper column:
- Image Icon – a direct link to the image file. This icon is displayed if there is only one image file uploaded in the entry.
- Number of files – shows how many files are uploaded in the entry. This is displayed if multiple images have been uploaded in the entry.
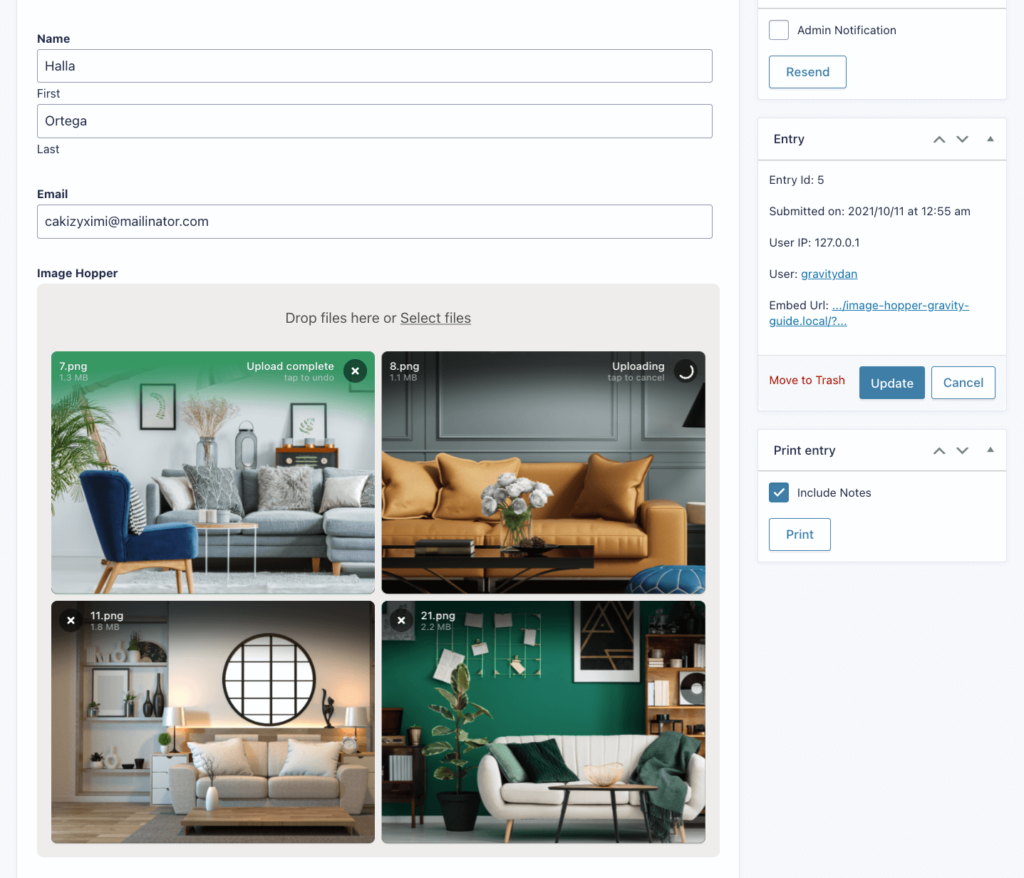
To see all the entry information, hover over the entry you are interested in, and select the View link. Unlike the File Upload field which displays links to any uploaded files, Image Hopper will display the actual images.

If you edit the entry you can add, remove or reorder any Image Hopper images.
In the next lesson, we’ll discuss further how Image Reordering works.