Set Up a Voting System
Back to: Host a Photography Contest with Gravity Forms and GravityView
License Note
You will need a GravityView Core + Extensions License or higher for this lesson.
You can set up a voting system using the GravityView Ratings & Reviews Extension.
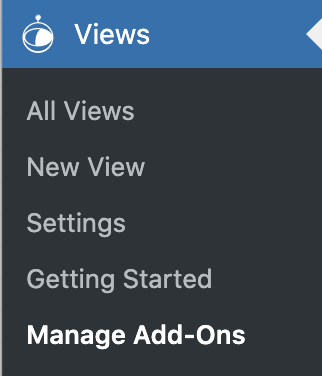
To do this, first add the extension to your site by going to Views > Manage Add-Ons.
In the Extensions screen look for the Ratings & Reviews Extension. Click install to install the plugin, then click activate to make it live.

Once the Extension is installed, go to the Edit View screen for your photography View.
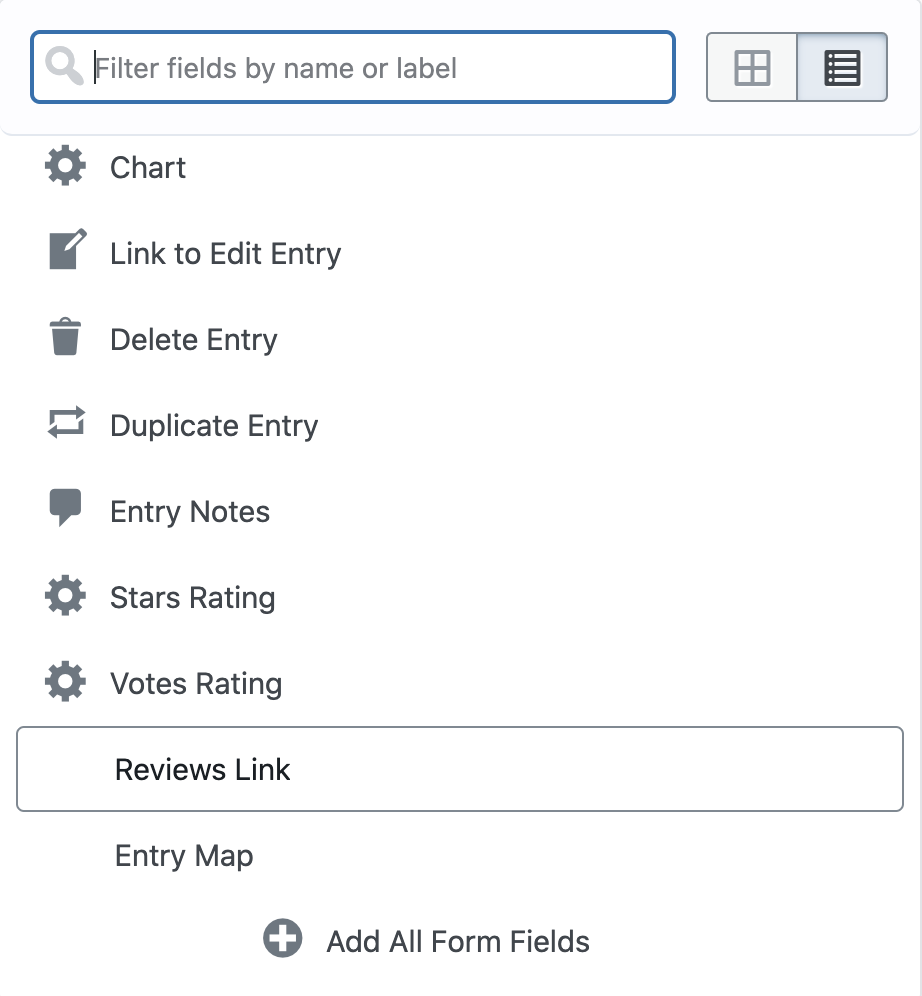
In the Other Fields box, clikc Add Field, then click “Reviews Link” to add a Reviews Link field.
Click on the gear icon to edit the options for the field.
Out of the box, the ratings labels look like this:


You can change the text that appears in the labels in the options for the field.
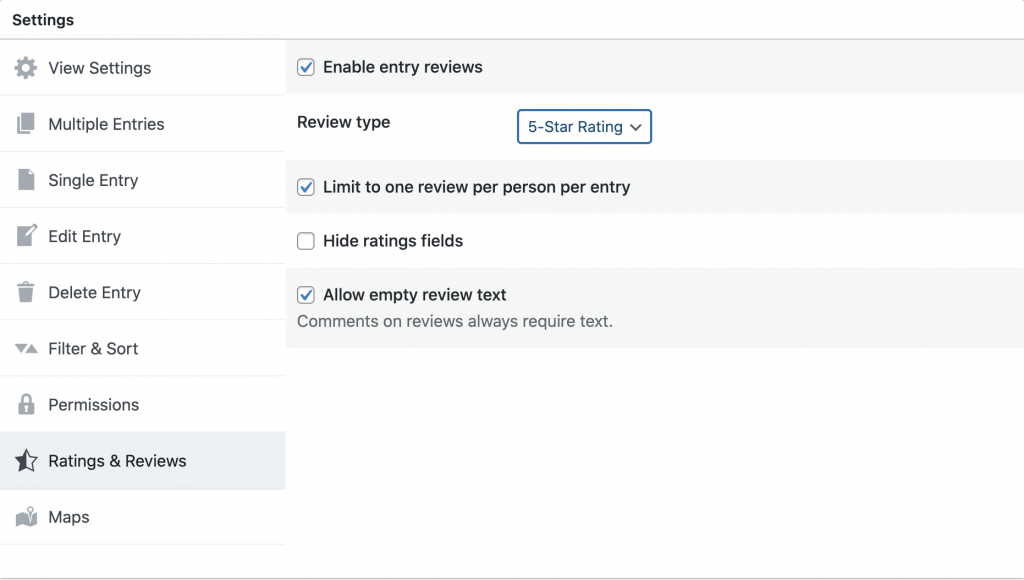
In the View Settings you’ll now have a new tab for Ratings & Reviews.
Here you can choose which type of rating/review to use: 5-Star Rating or Up/Down Vote. You can also decide whether each person can only review each image once.