Multiple Entries
Back to: Create a Member or Team Member Directory with Gravity Forms
Tools Needed
Setting Up Your View Fields
Create a new view by clicking New View under the Views menu.
First select your data source – the form that you created in Step 1 – and select Listing View.
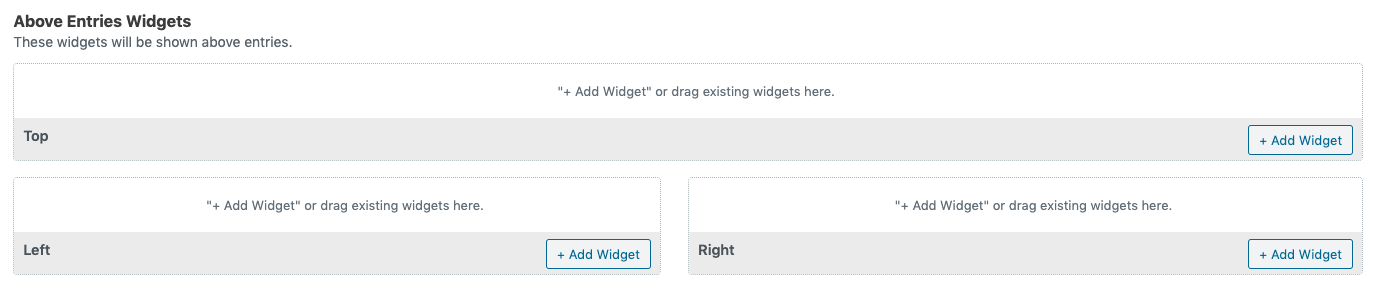
Next, on the Multiple Entries tab, delete the Widgets that are prepopulated in the Above Entries Widget fields. It should look like this when you are done:
In the Entries Fields, click the + Add Field button and select the following fields from your form to populate the View:
Listing Title: Name
Subheading: Custom Content
Image: Headshot
Other Fields: Address, Email, Custom Content, Custom Content
Footer Right: Edit Entry
Preventing Direct Access
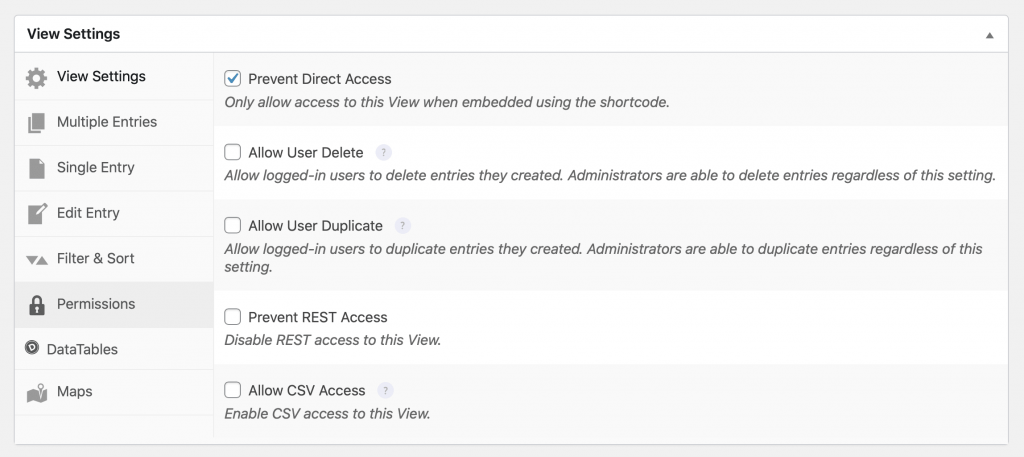
To prevent others from seeing the View while you’re still working on it, scroll down to the View Settings box, click on the Permissions tab label, then select “Prevent Direct Access.” This prevents others from sneaking a peek until you embed it on a page.
At this point, let’s publish the View by scrolling to the top of the page and clicking the button “Publish”.
Now that we have added the fields, let’s customize them to look like the example.
Customizing the View Fields
Click the gear icon next to the Name field and check “Link to single entry.” This will allow visitors to click on the name to get to the more detailed Single Entry View.
Closing the Settings Pop-up
To close a settings pop-up window, click the “x” at the top-right of the window. You can also use the “Esc” button on your keyboard, or click anywhere on the background.
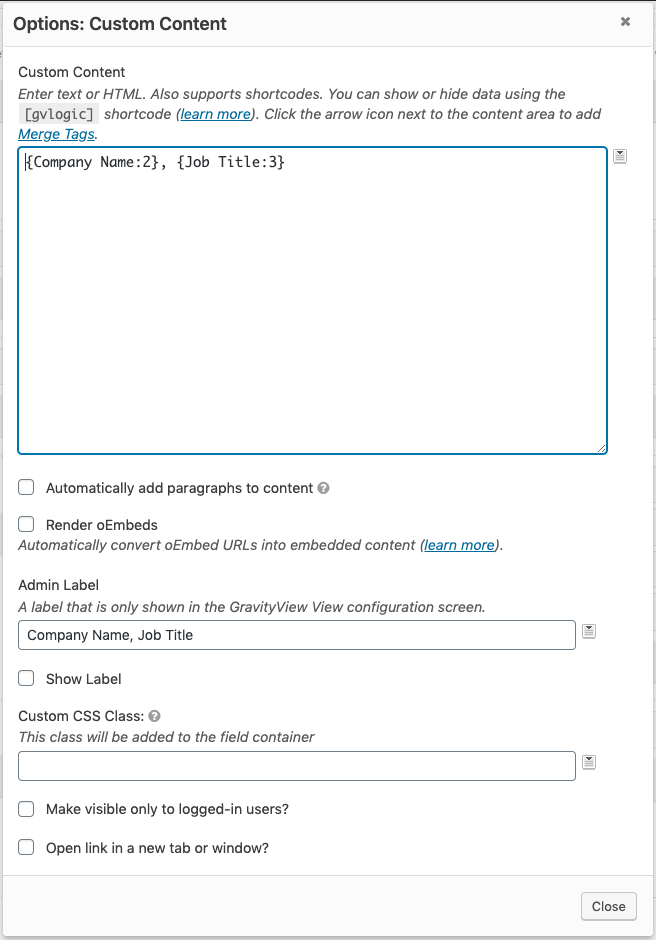
The Custom Content field under the subheading is where we will display the member’s company name and job title. Click the gear icon to configure the field.
When the options box opens you should see this icon next to the text box: ![]()
If you don’t see it, publish or update the View and then check again. Once the icon is visible, click it to select fields from the form. We’ll choose Company Name and Job Title, which are fields 2 and 3 on my form. Add a comma and a space between the two fields. I’ve also added an Admin Label of “Company Name, Job Title” so that I know at a quick glance what the purpose of the field is. The completed field should look like this:
We also want to link the Headshot field to the single entry, so click the gear icon for that field and mark the checkbox next to the Link to single entry box.
Configuring the Contact Information Fields
Address – Click the gear icon and mark the checkbox for Make visible only to logged-in users. From the dropbox next to Make visible for: choose the option appropriate for your site structure.
Adding roles to the “Make visible for” dropdown
To make additional roles visible in the dropdown, use this snippet from GravityView. If you need to create custom roles or would like to modify the user capabilities to determine who can view or edit Views, check out our course Create New User Roles on Your WordPress Site.
In the Address field I also unchecked Show Map Link. When this is checked it displays a “Map It” link below the address. I find this useful for event addresses, but unnecessary for the current use case.
In the Email field options, check Link the Email Address, Encrypt Email Address, and Make Visible only to logged-in users, again choosing the appropriate user type for your site structure.
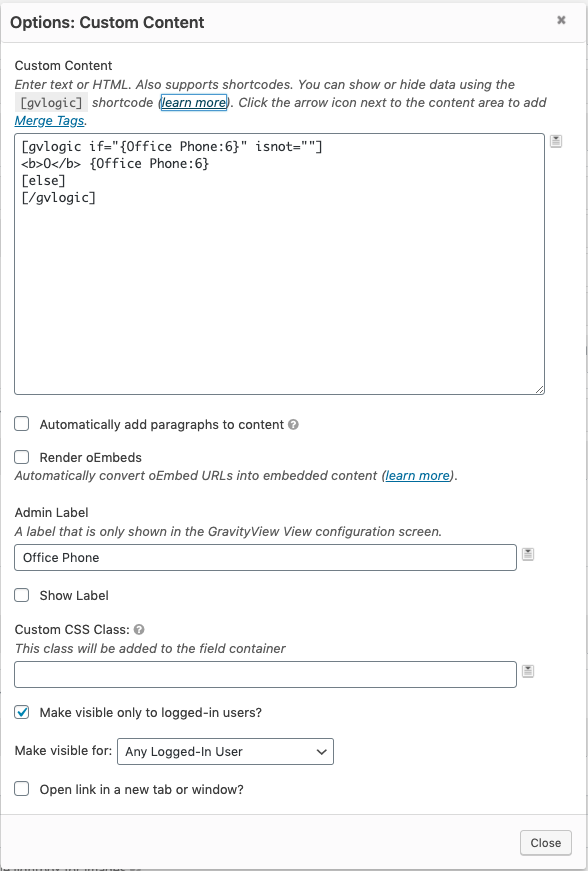
The first Custom Content field is for the office phone number. If we had just one phone number to display, we could do this as a regular field, just like Address and Email, but since we have two numbers to display, I want to differentiate them in a streamlined way:
- Use GV Logic to show the label only if the field is not blank.
- Start the box with a bold O label for the phone number by entering
<b>O</b>then enter a space. - Next, select the Office Phone field using the icon to the right of the box.
- Add an Admin Label of “Office Phone” and again select to make this field visible only to logged in users.
GV Logic Shortcode
For more on the GV Logic Shortcode, see the help page on the GravityView site.
The Office Phone Custom Content field should look like this when completed:
Do the same thing again for the next Custom Content field, starting with a bold M and selecting the Mobile Phone field.
In the Edit Entry field options, let’s change the Edit Link Text to say “Update Profile.”
We will leave the Below Entries Widgets blank.