Image Hopper Field Overview
Back to: Exploring the Image Hopper Plugin
In this lesson we’ll briefly discuss the different settings available in the Image Hopper field. As we progress through the course, we’ll cover each feature in greater detail. Let’s begin!
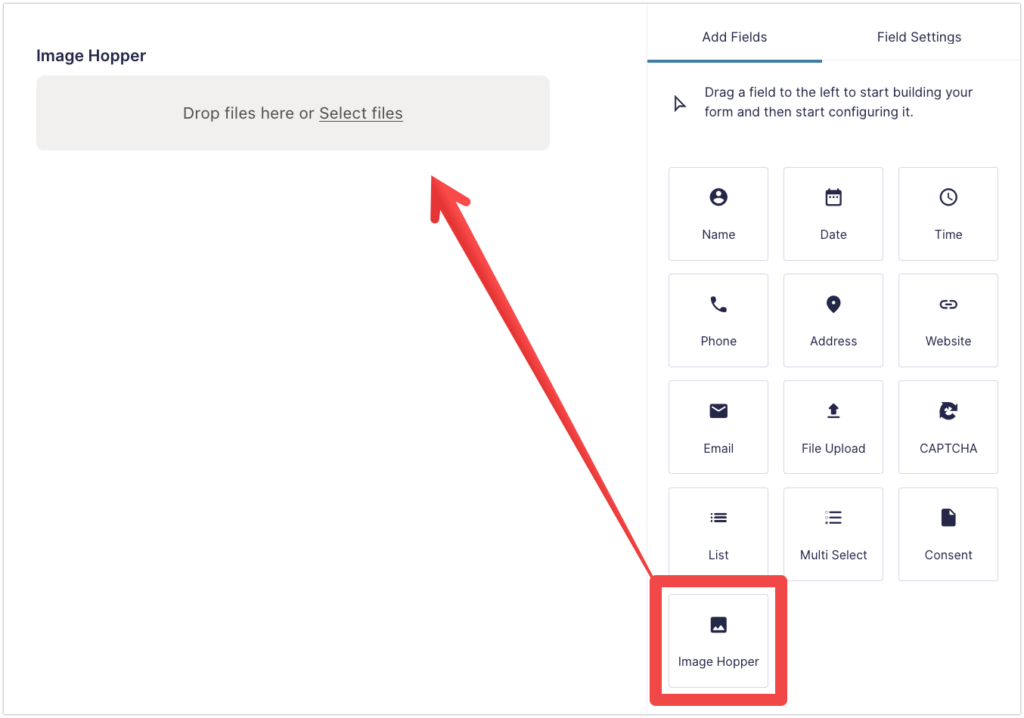
Create a new form, go to the Advanced section and drag (or click on) Image Hopper to add it to the form editor. We’ll use this form until we finish the course, so don’t forget to click the Save Form button whenever you adjust a setting.
Now select the Image Hopper field to open the Field Settings tab in the sidebar. Let’s take a look at the available settings found under the three main tabs.
General Tab
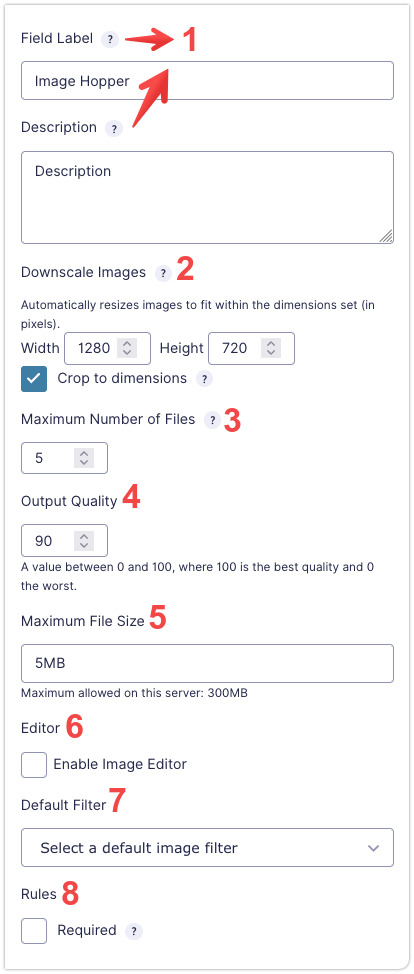
- Field Label/Description: As with any Gravity Forms field, you can enter a text Label and Description to help identify the field and instruct your users how to correctly complete the field.
- Downscale Images/Crop to dimensions: Set any image dimensions you like (in pixels), and Image Hopper will automatically resize the image to fit within the dimensions indicated, or crop an image to the indicated size.
- Maximum Number of Files: Specify the maximum number of images that can be uploaded using the Image Hopper field or leave it blank to allow unlimited uploads per submission.
- Output Quality: Image Hopper can control the quality of JPG/JPEG images. Set a value between 0 to 100 (higher is better quality). The default depends on the user’s browser, but it averages 94.
- Maximum File Size: You can specify the maximum file size allowed for each image when uploading to your server. The downscaled/cropped image size will be used, rather than the original file size.
- Editor: When you have the Image Hopper Editor add-on installed, this option lets you enable/disable the editor functionality. Turning this on will open up plenty of settings for different editing tools, which we’ll discuss in detail as we progress further in this course.
- Default Filter: If the Image Hopper Editor add-on is installed, you can apply an image filter automatically to any images that are uploaded.
- Required: Mark the field as required to ensure a user uploads at least one image when filling out the form.
Appearance Tab
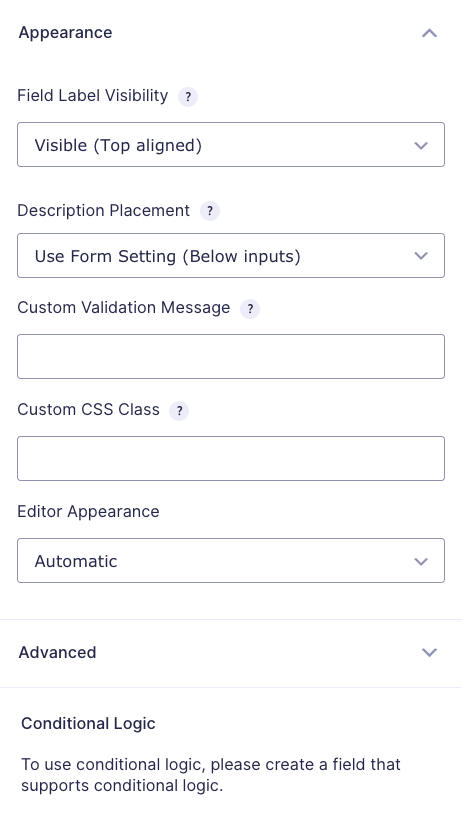
The Image Hopper field supports common Gravity Forms appearance settings. Refer to Gravity Forms documentation for more information about these settings.
NOTICE
The Editor Appearance setting is available only if the Editor functionality is enabled. This allows you to change the appearance of the Editor’s UI to Light, Dark, or Automatic.
Advanced Tab
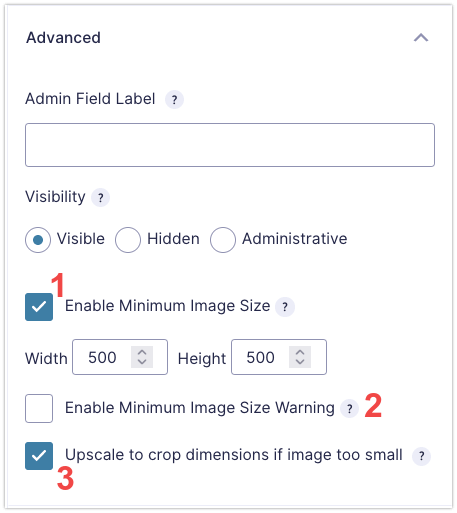
Along with support for Gravity Forms common fields like Admin Field Label and Visibility, there are a number of additional settings to change how Image Hopper functions. This includes:
- Enable Minimum Image Size: Specify the exact image size (in pixels) and Image Hopper will automatically stop the uploading process if the image is smaller than this threshold.
- Enable Minimum Image Size Warning: Specify the exact image size (in pixels) and Image Hopper will alert users whenever an image smaller than this is uploaded to the server.
- Upscale to crop dimensions if image to small: You can enable this if you want images smaller than the dimensions set in the Downscale Images setting to automatically scale up when uploaded. This option is only available if the Crop to Dimensions setting is enabled and does produce a poorer quality image.
Now that you’re familiar with the different settings available in the Image Hopper field, it’s time to discuss each one in detail. If you’re ready, proceed to the next lesson.