Image Hopper Editor Overview
Back to: Exploring the Image Hopper Plugin
The Image Hopper Editor enables a wide range of advanced image editing tools for users to easily manipulate their uploaded images. This lesson is an introduction to the different features and associated settings available when the Editor functionality is enabled.
Before we begin, make sure the Image Hopper Editor plugin has been installed and activated on your WordPress site. Then head to the Form Editor for the form created in the earlier lesson, and select the standard Image Hopper field to bring up the Field Settings.
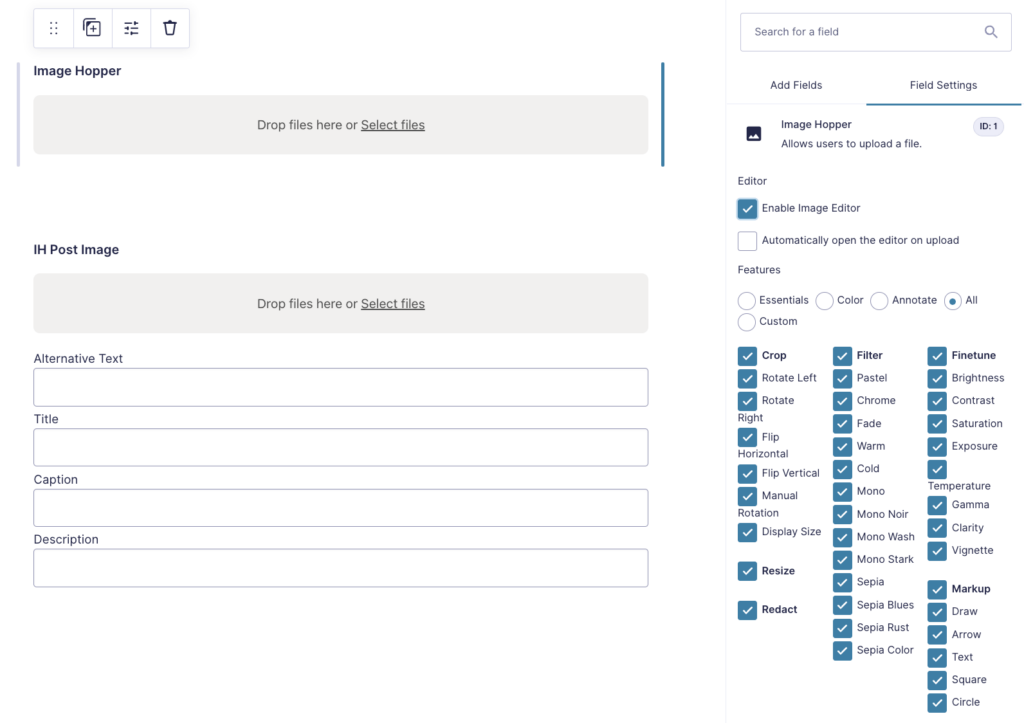
With the Editor plugin activated, a new clickbox setting called Enable Image Editor will be added. When enabled, it will unlock a range of options for you to control the full image editing experience.
Let’s discuss one by one what these new additional settings are for.
Automatically Open the Editor on Upload
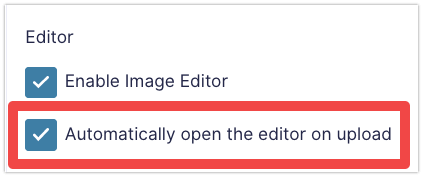
When the Automatically open the editor on upload checkbox is enabled, the image editor will be automatically opened for every image uploaded to the Image Hopper field. This option can be useful to prompt users to touch up or refine their images. Or, if you’ve enabled the Crop to Dimensions setting, users will be able to control each image’s crop area instantly.
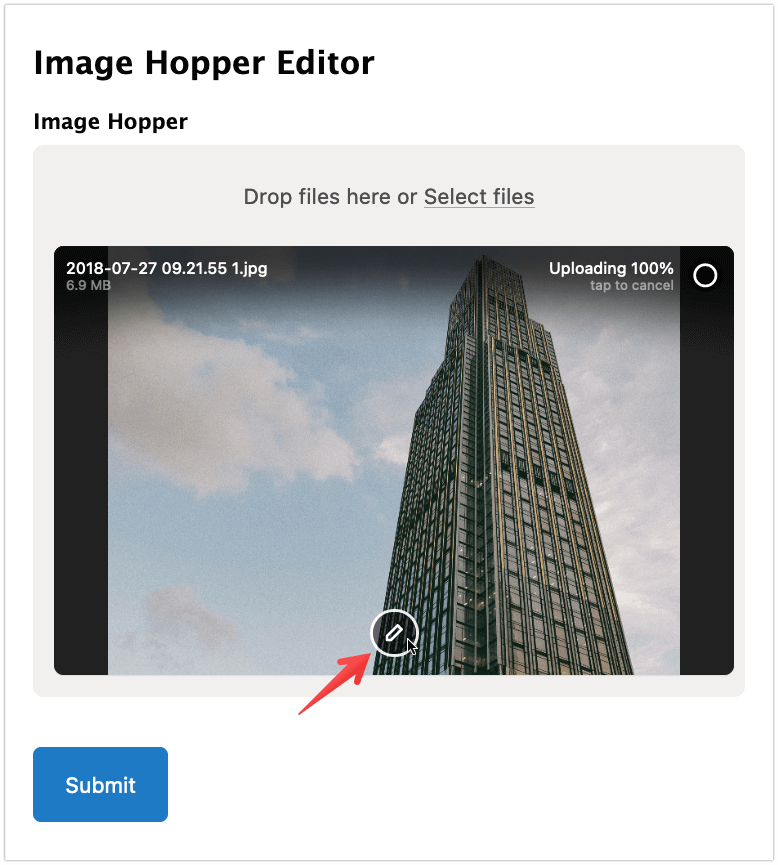
When this setting is disabled, users will need to select the edit icon to open up the editor.
Features
You have granular control over what image editing settings are enabled for the user and can switch on, or off, the various editing tools you want to provide. The tools are broken up into six primary tabs each having a variety of options you can toggle (these are discussed in detail in the next lessons).
The primary tabs are:
- Crop – crop, zoom, rotate, flip
- Resize – scale images while respecting aspect ratio
- Filter – apply photo filters to images
- Finetune – brightness, contrast, saturation, exposure, and temperature
- Markup – draw, shapes, text
- Redact – hide sensitive information/content
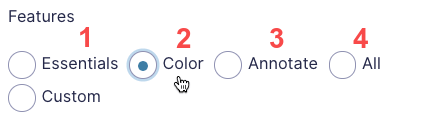
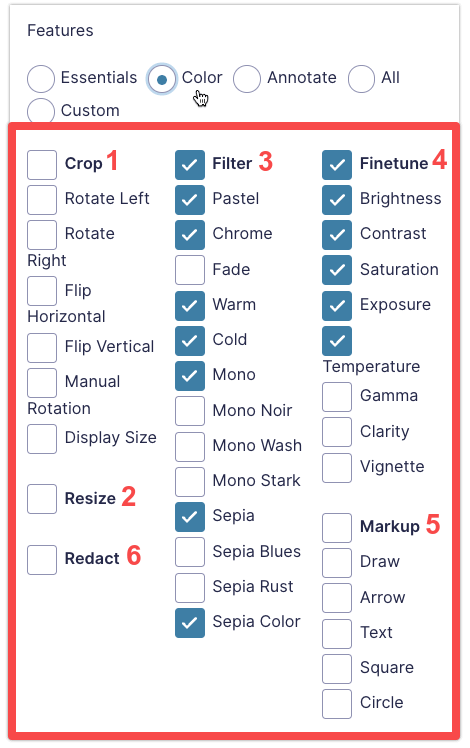
Because there are so many options available, to make it easier, you can choose from four presets:
- Essentials: enables the crop and rotate functionality
- Color: apply different photo filters and fine-tune image colors
- Annotate: enables tools to draw directly on images, add shapes, or text. The Redact and crop/rotate functionality is also enabled.
- The All preset enables every image editing feature available in the Image Hopper Editor.
If you deviate from any of the presents, the Custom option will be automatically selected.
Default Editor View
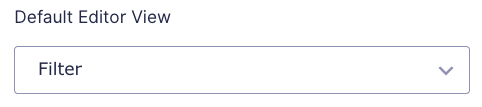
This setting determines which of the six primary tabs will be loaded when the editor first opens. If you select a preset in the Features setting, the ideal tab will automatically be selected for you (but feel free to change it to suit your needs).
Default Filter
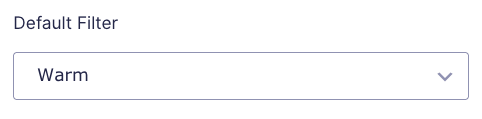
Enable the Default Filter setting if you want to automatically apply a specific photo filter to an uploaded image. This setting is always available, even without the Image Hopper Editor setting toggled on.
Editor Appearance
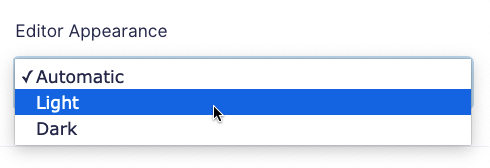
The Editor Appearance setting is located under the Appearance tab of the Field Settings. The three options are:
- Automatic – will change the appearance to either light or dark appearance based on your browser/device setting.
- Light – Editor’s background color to white with black text.
- Dark – Editor’s background color to black with white text.
In this lesson, you learned about the various image editing settings that are available when configuring the Image Hopper fields in the Form Editor. The rest of the course will focus on the end user experience when using the various editor tools.
So you can follow along, go ahead and Enable the Image Editor in your form, turn on all the Features and Automatically open the editor on upload setting, then Save.