Finetune Images
Back to: Exploring the Image Hopper Plugin
This is a power user feature that really allows a user to control the look and feel of an image. In this lesson, you will learn the importance of the eight finetune controls available. Select the Finetune tab from the Primary Toolbar to get started.
In the Control Bar, you will see the various image refinement controls available. After you select one of the buttons, you can drag the slider to the left (-100 lowest value) or right (100 highest value). For our keyboard navigating friends, you can also use the left and right array keys.
Brightness
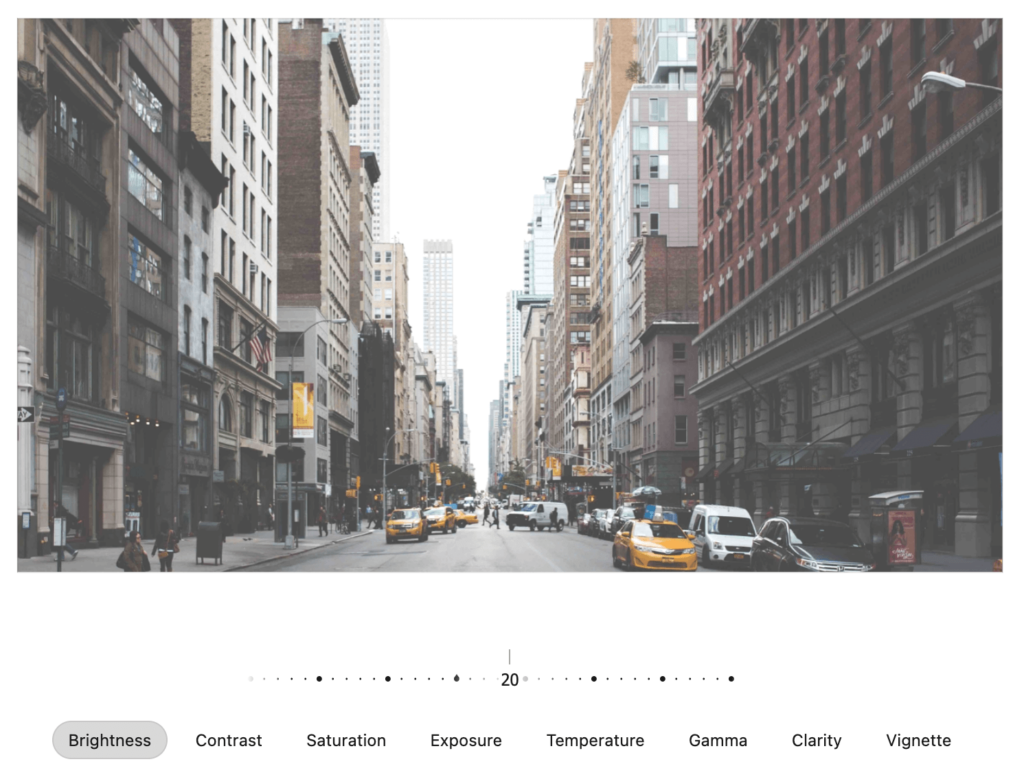
Brightness allows you to change the overall lightness or darkness of the image. Having the ability to adjust brightness is important because it lets you control the visibility of details on an image.
Contrast
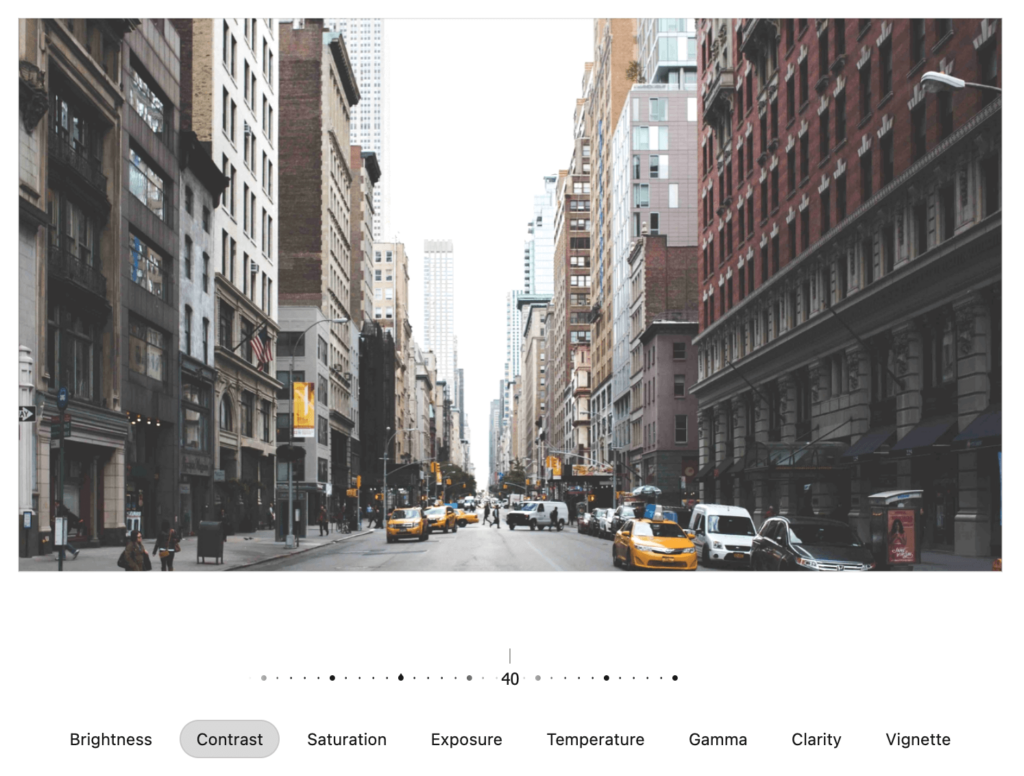
Contrast is the difference between the whites and blacks of the image. Increase to make the white areas brighter and black areas darker to give more emphasis to the subject. Decrease to do the opposite to give a softer appearance.
Saturation
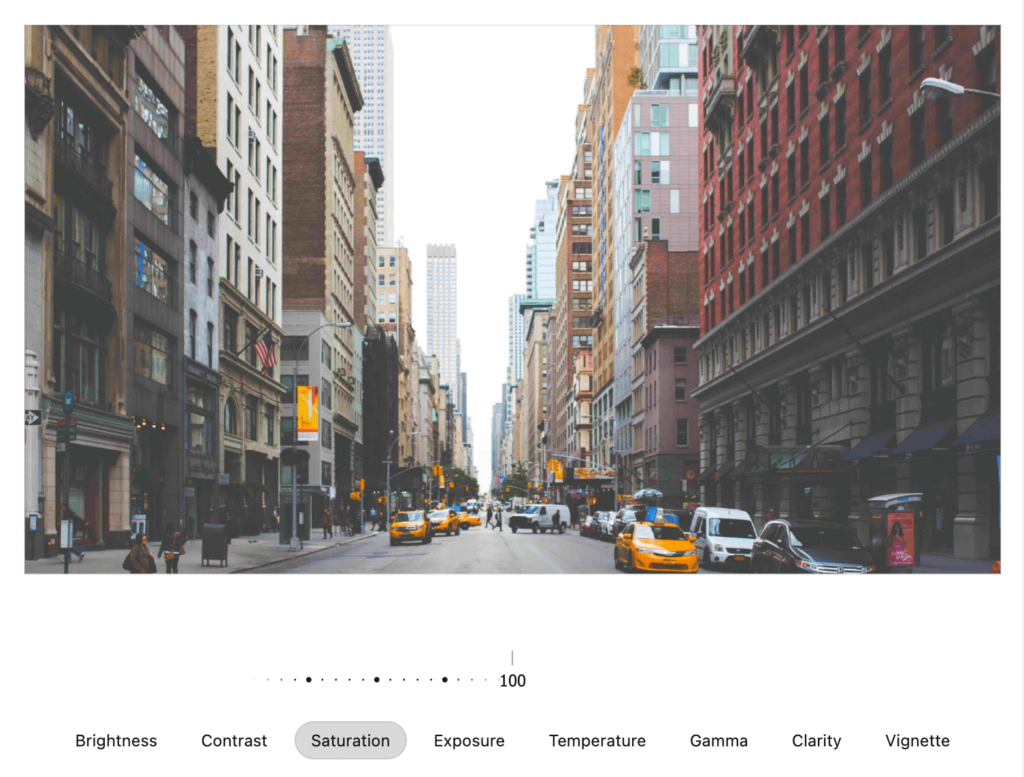
Saturation is the depth or intensity of the image colors. Increase to make the image more vibrant and alive. Decrease to weaken its vividness to give off a more dull and muted appearance.
Exposure
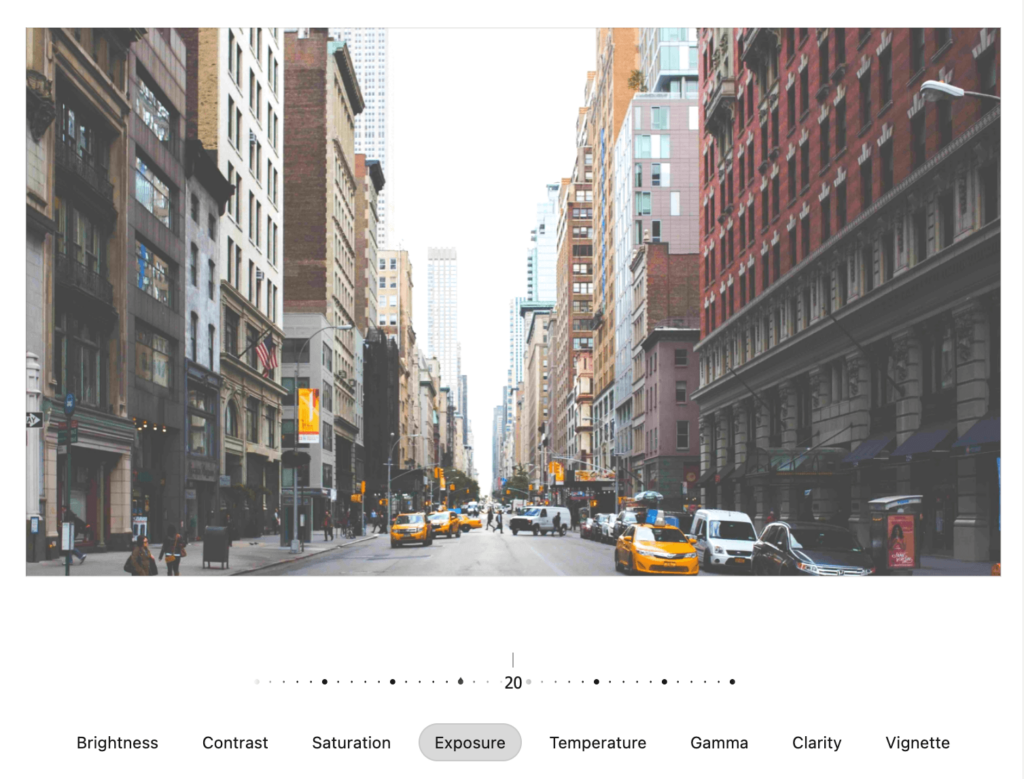
Exposure allows you to control the amount of light present in the image. It focuses more on the highlights which means you can freely adjust the lightness without much affecting the darker areas of the image.
Temperature
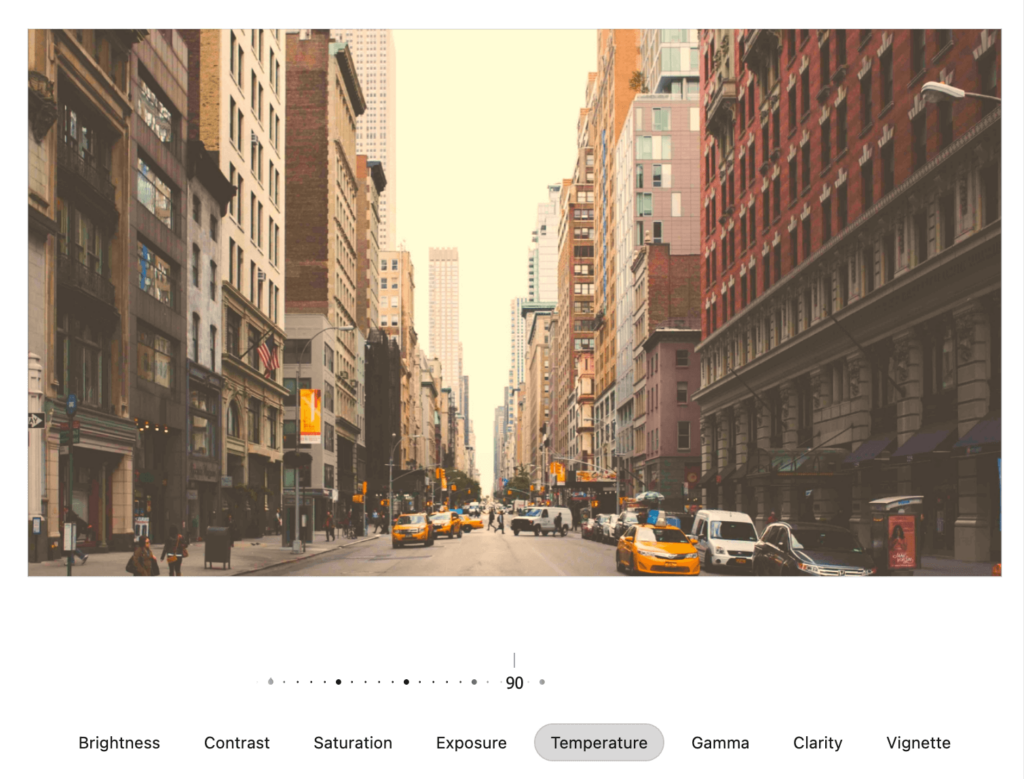
Temperature lets you adjust the coolness and warmth of the image. Increasing will boost the yellows for a warmer and more comfortable vibe. Decreasing will boost the blues for a cooler appearance. Adjust the temperature to dramatically transform the look and feel of the image.
Gamma
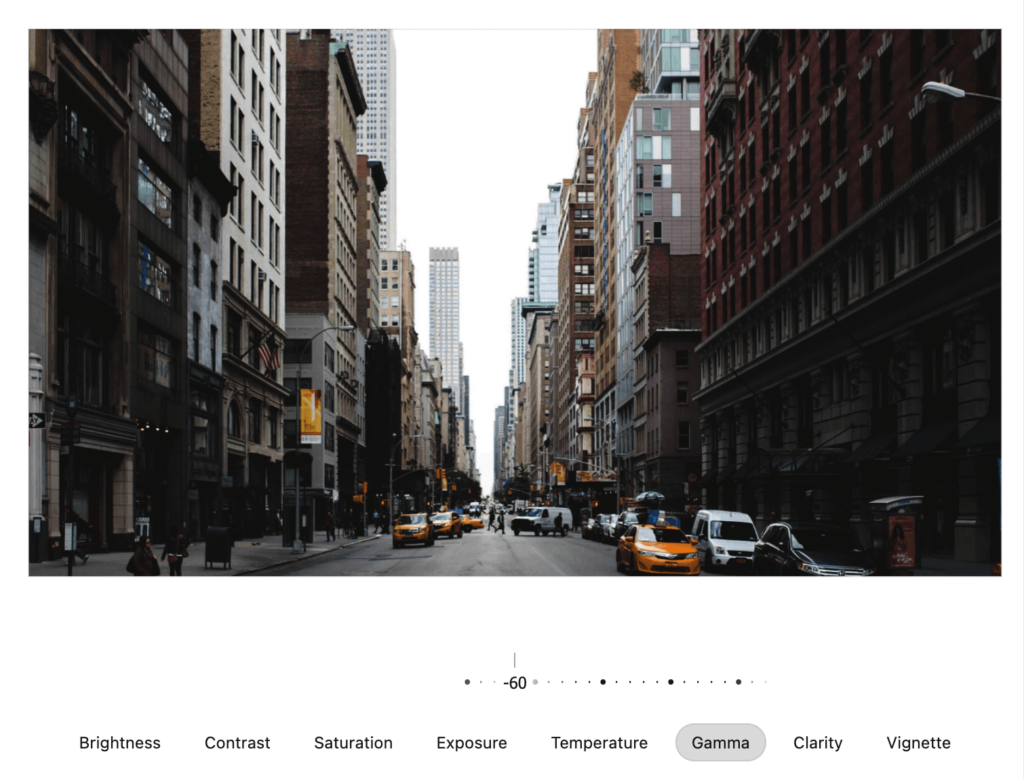
Gamma allows you to control how well a digital image is displayed on screen. Increase or decrease to adjust the transition between the black and white shades of the image. Gamma will help prevent the image from looking dark or washed out.
Clarity
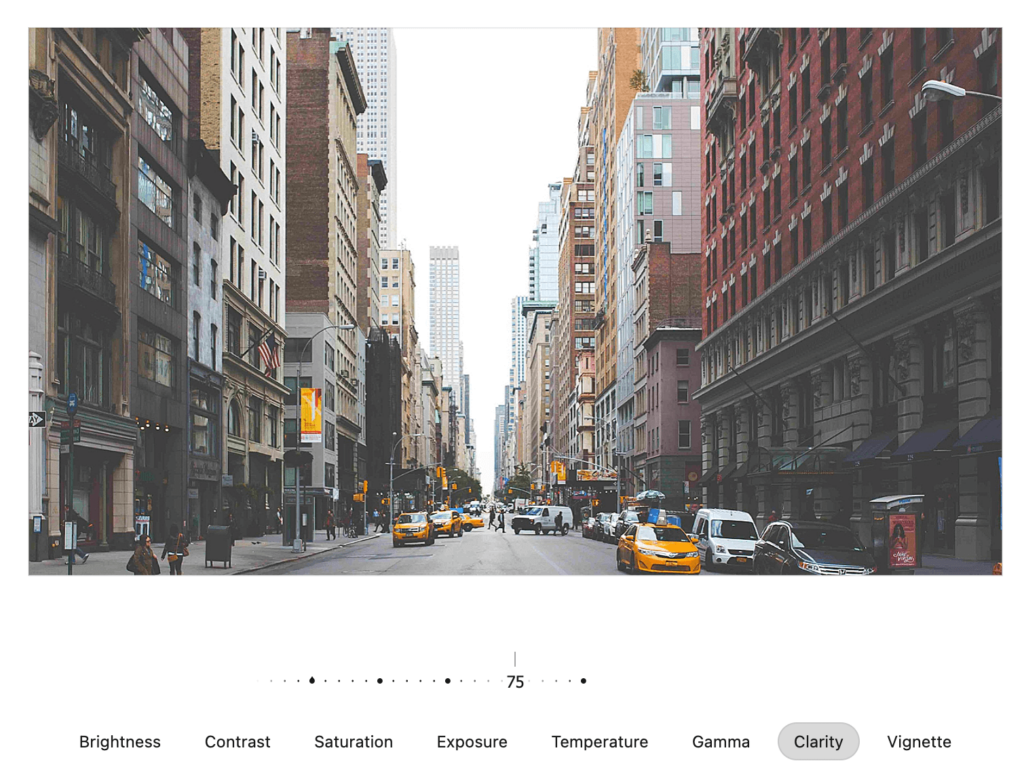
Clarity is similar to contrast, but it only focuses on middle tones. This means that it only affects a selected portion as opposed to the entire image. Clarity enhances an image’s structure to create sharper details.
Vignette

Vignette lets you control the brightness around the edges of a photo to give more focus on the center area. It gives a subtle framing effect to draw away the viewer’s attention from any distractions around the edges of the image.
Digital images don’t always appear how you want them to be. Take full advantage of these settings to specifically control the final output. Tweaking these settings can make a huge impact on how your submitted images are perceived. Mark this lesson complete if you’re ready to proceed to the next lesson.