Creating the user registration form
Back to: Advanced User Management and CRM Functionality
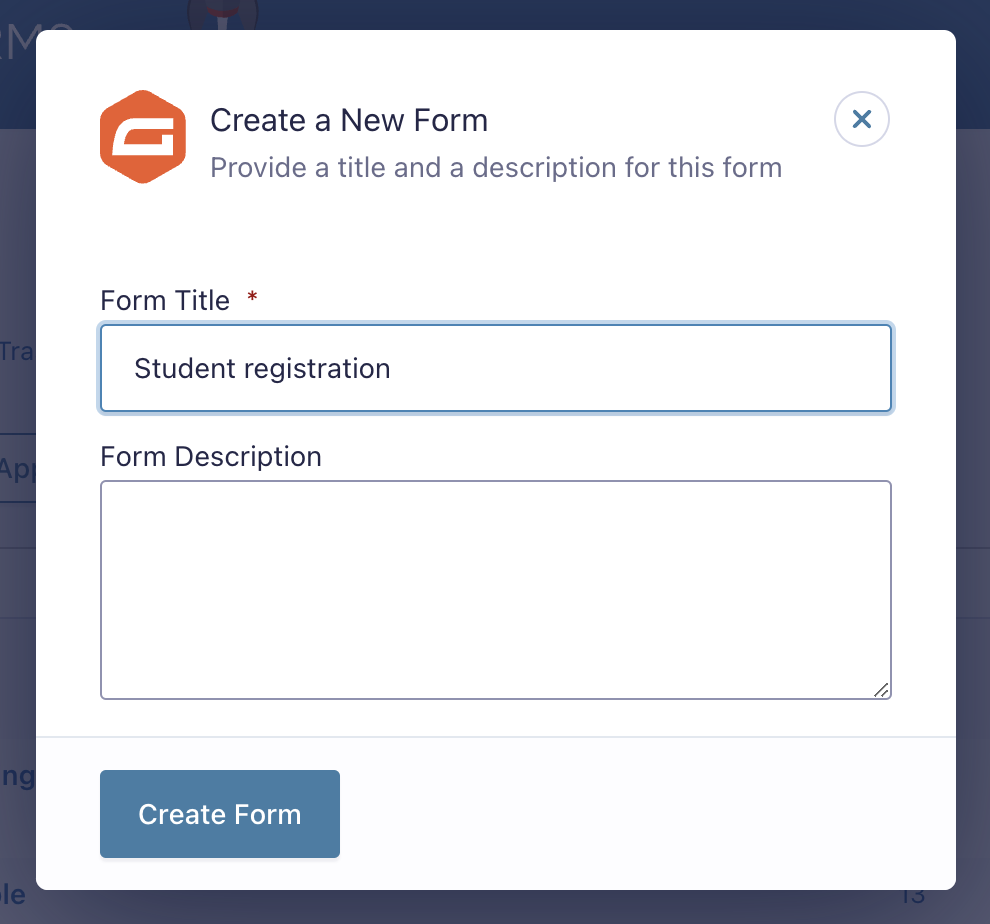
We’ll create a new form by hovering over Forms and clicking New Form. Next we’ll give our form a name and click “Create Form”.
Now we can start adding fields to our form using the Gravity Forms drag-and-drop editor. For this example, we’ll keep it simple by adding the following fields:
- Name
- Phone
- Username (Username field, added by the User Registration add-on)
- Password (Password field, added by the User Registration add-on)
- Course organizer (Drop Down field)
Feel free to add any fields you feel are necessary. The most important fields are the “Email” field and the “Course organizer” field. The Email field is required for the User Registration add-on to register new users.
The “Course organizer” drop down is what will allow us to connect students with teachers, so that teachers only see the students taking their course. The drop down choices should all be course organizers.
We could manually add each organizer, but what happens if one teacher leaves, or another joins? We’d have to go back and update the form each time. This is inefficient and time-consuming. The best way to handle this is by using Populate Anything to dynamically populate the field choices.
Note that this only works because the course organizers are all registered WordPress users on our website.
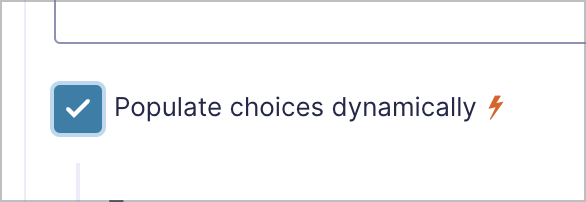
To enable dynamic population, we’ll open the field settings and check the box that says “Populate choices dynamically”.
Now we need to select a label and value for the drop down choices. The label should be the display name of the course organizer, while the value should be the course organizer’s User ID.
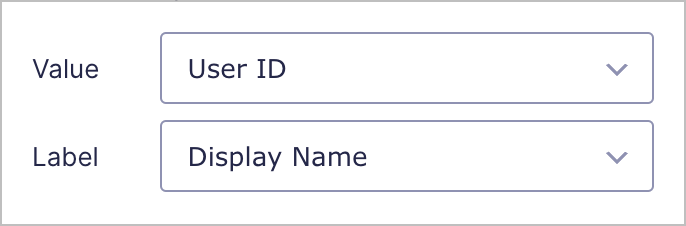
Setting the value to the User ID will allow us to filter the View using the {user} merge tag. Don’t worry, we’ll cover how to do this in a later lesson.
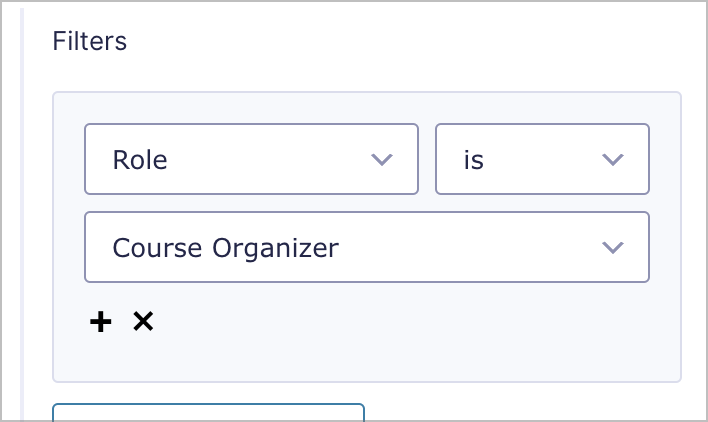
Right now, the drop down choices will be dynamically populated with all WordPress users. That’s not what we want – we only want course organizers to appear as choices, not site admins, students, or other user roles.
To solve this, we can add a filter group. To do this, we’ll click “Add Filter Group”. Here we can filter the choices in the Drop Down based on conditions that we set. Because we only want field choices to include course organizers, we’ll filter the choices so only users with the role “Course Organizer” appear.
After adding fields to our form, we’re ready to embed it on our website. We can do this by clicking the “Embed” button at the top right.
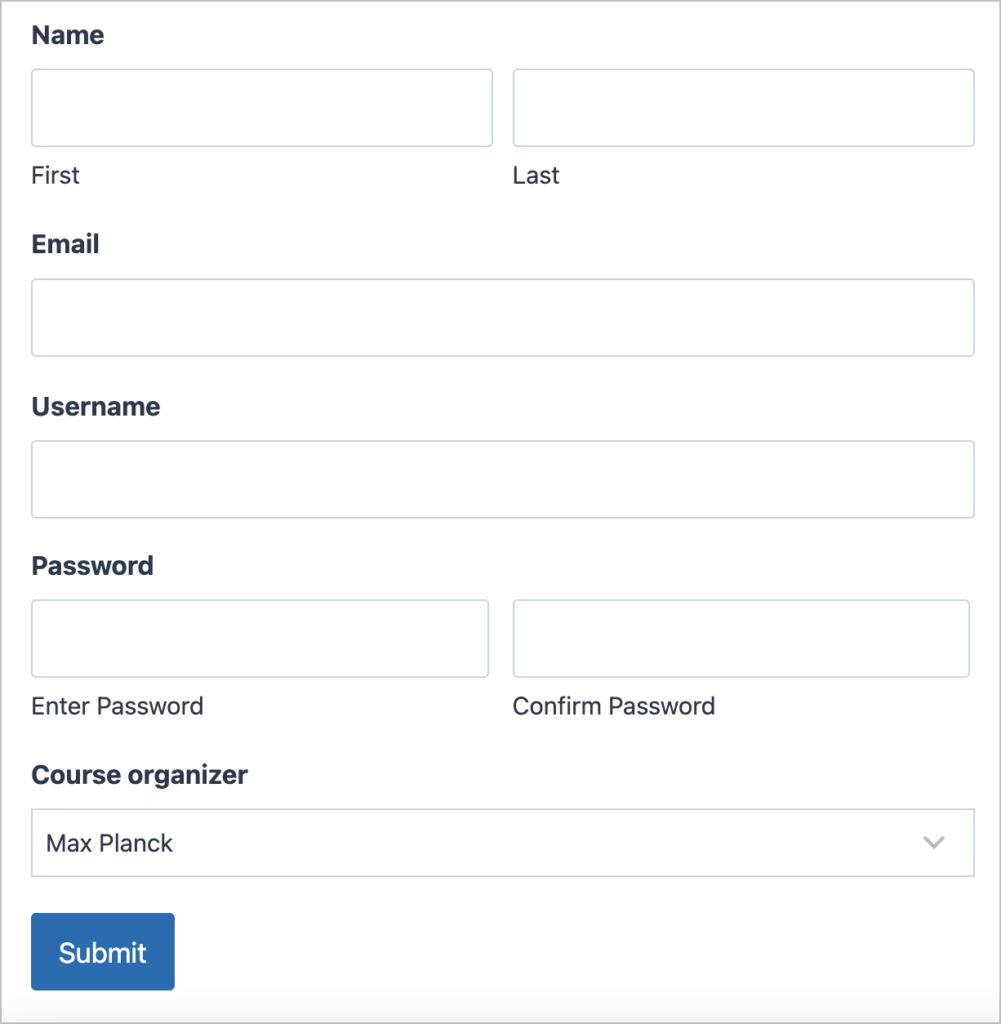
Here’s what our form looks like on the front end:
💡 Pro tip
You can edit existing user roles (or create custom roles) using the free Members plugin!