Creating a View to display registered users
Back to: Advanced User Management and CRM Functionality
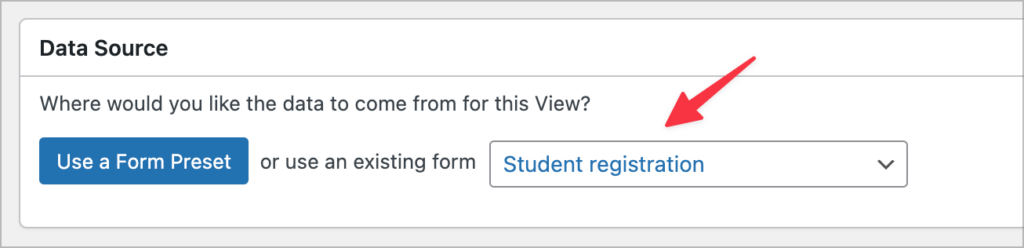
Now we need to create a new View in GravityView to display registered students on the front end.
We’ll hover over Views and click New View. After giving our View a name, we’ll select our student registration form as the data source.
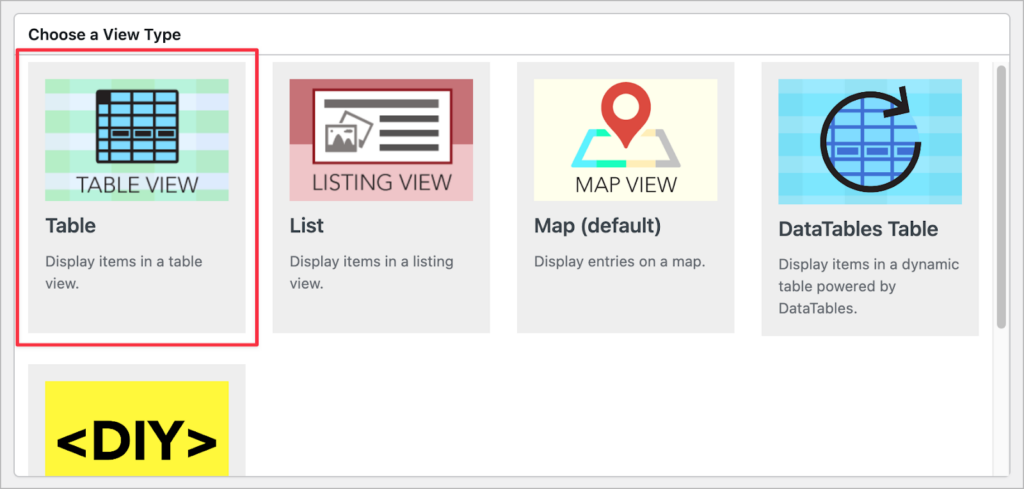
Now we need to select a View layout. The layout you select will depend on your project, but for this example we’ll choose the “Table” layout.
Now we can start configuring the View Using GravityView’s drag and drop editor. We’ll add fields to the table by clicking on the “+ Add Field” button.

We can also add widgets such as search bars or pagination links.
Configuring the Single Entry and Edit Entry Layouts
Feel free to go ahead and configure the Single Entry and Edit Entry layouts as well, but we’re not going to cover that in this course.
💡 Pro tip
For more guidance on View setup, check out Getting Started With GravityView.