Create the View
Back to: Display Survey Results with GFChart and GravityView
License Note
This lesson requires a GravityView Core License or above.
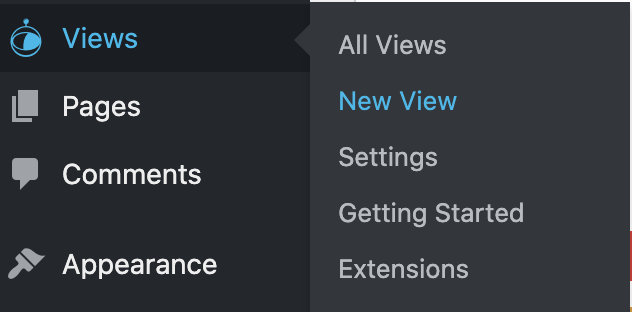
To create the View that displays the free form answers from your form, choose New View from the Views menu in your Admin sidebar.
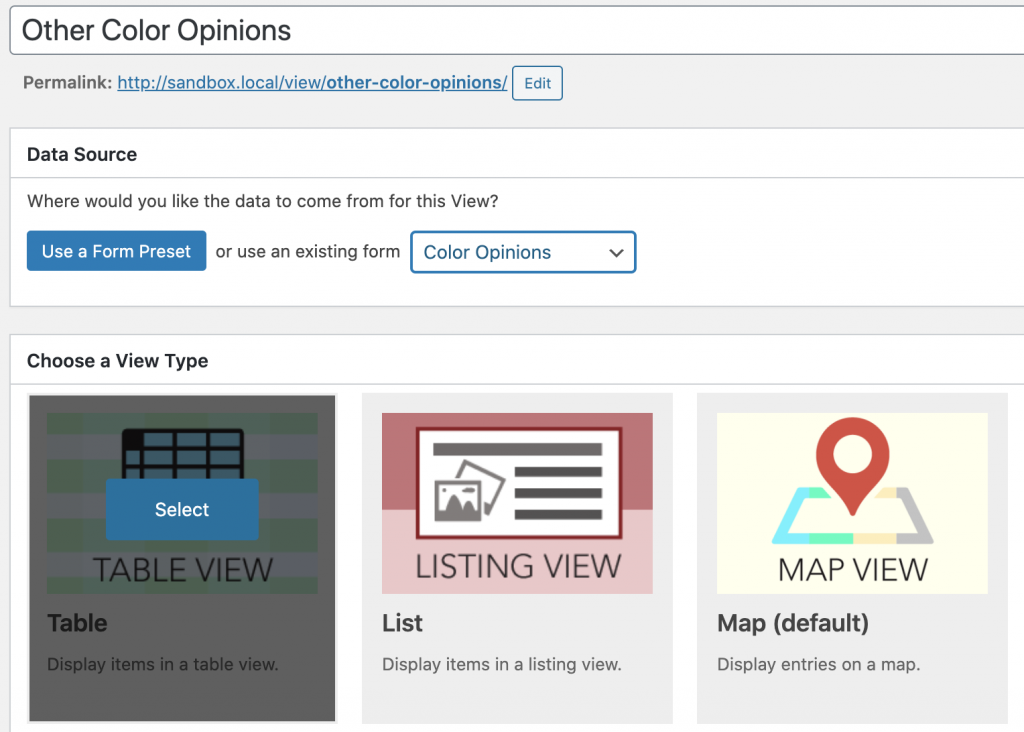
Name your view, then choose the form that is collecting your responses. Choose the Table View type.
I like to remove the Above and Below Entries Widgets to start with a clean slate.
In the Entries Fields, choose the open-ended question field.

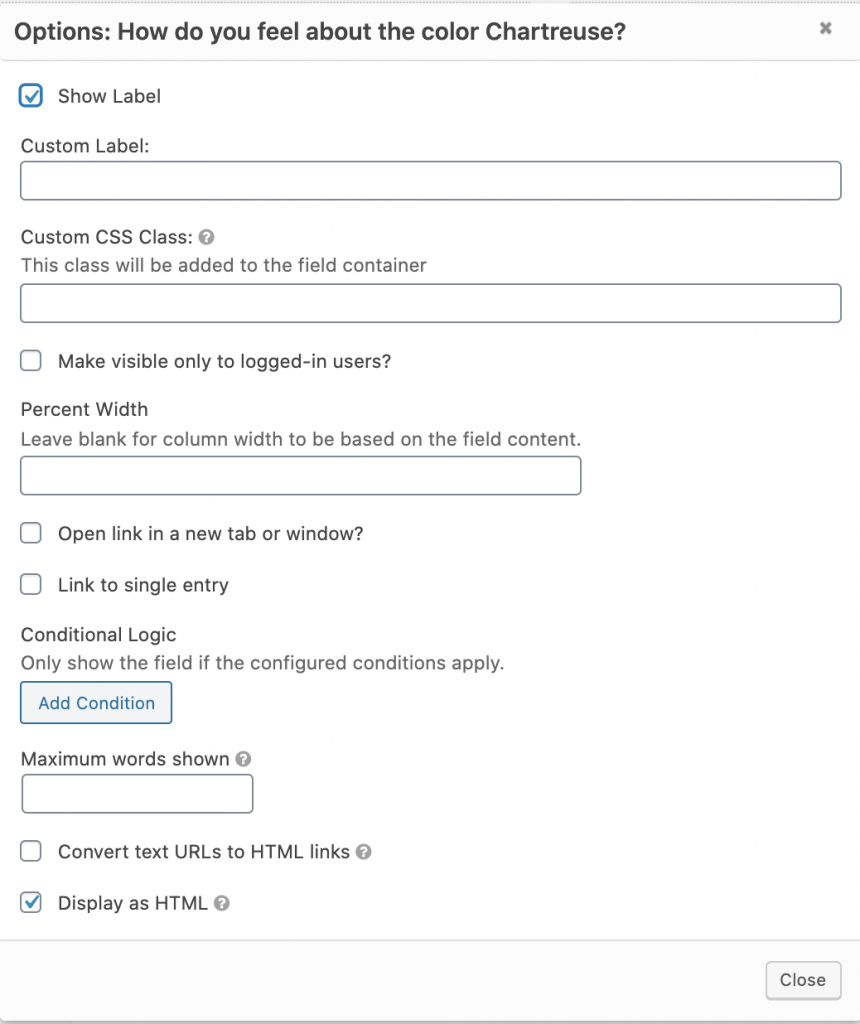
Click the gear icon next to the Field Label to make any needed adjustments to the field. Since mine is a very simple View, I’ll leave the options all at their defaults.
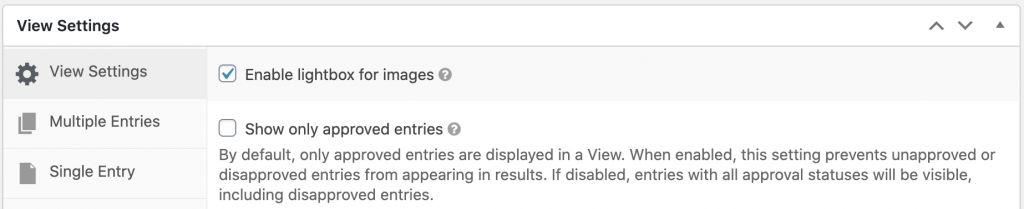
In the View Settings, choose whether to display only approved entries. If you leave this setting checked, you’ll need to approve the entry before it will be displayed on the site. If you uncheck it, all entries will show immediately on your site.
Top and Bottom Labels
Out of the box, Table View shows labels at the top and bottom of the table. This may feel like overkill for a short table. If you’d like to remove the bottom labels, you can follow these instructions.
This is what your View will look like:

Once your field is set up, you can publish the View and then embed it on a page using the Embed Shortcode.
In the next lesson, we will look at how to add front-end filtering by combining GFChart and GravityView.