Create the Single Entry View
Back to: Collect and Display Community Events with Gravity Forms and GravityView
Before we start the Single View, you’ll want to pick a field that will link to the Single Entry view. I chose the Title field by simply clicking the gear icon for the Title field and checking the box next to “Link to single entry.”
To create the single entry view, click on the second tab in the Edit screen. I started by placing all of my fields on the view, but decided that entry was too long. So I went back through and added several custom fields where I could combine multiple field entries into one field. The result looks like this.
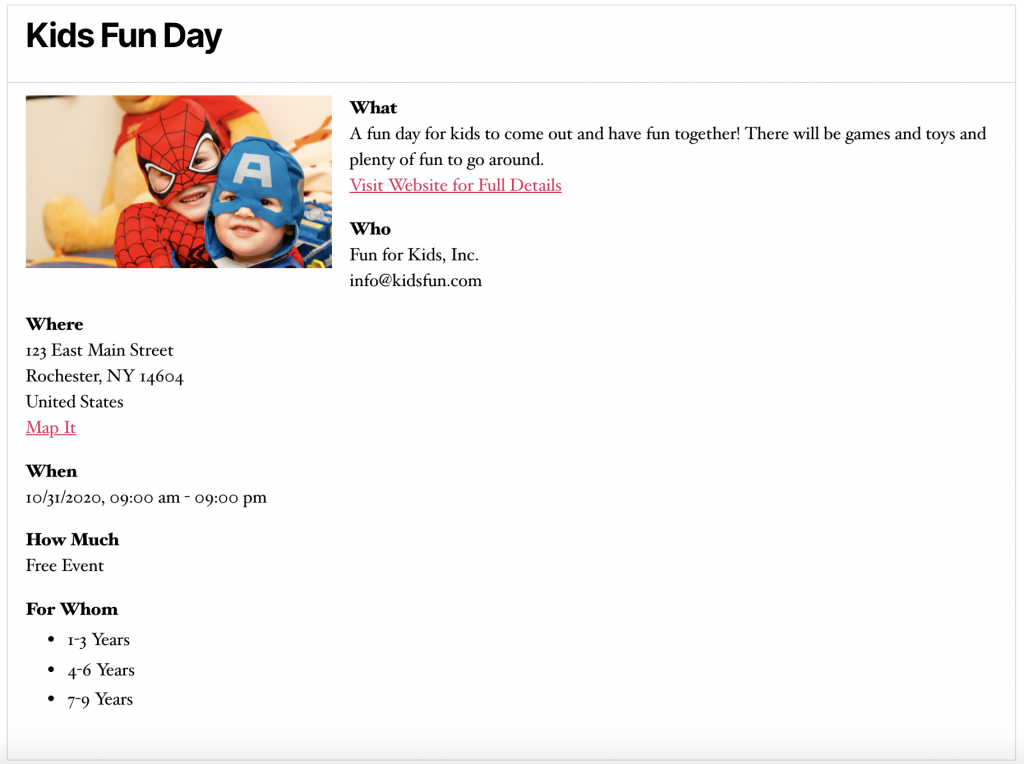
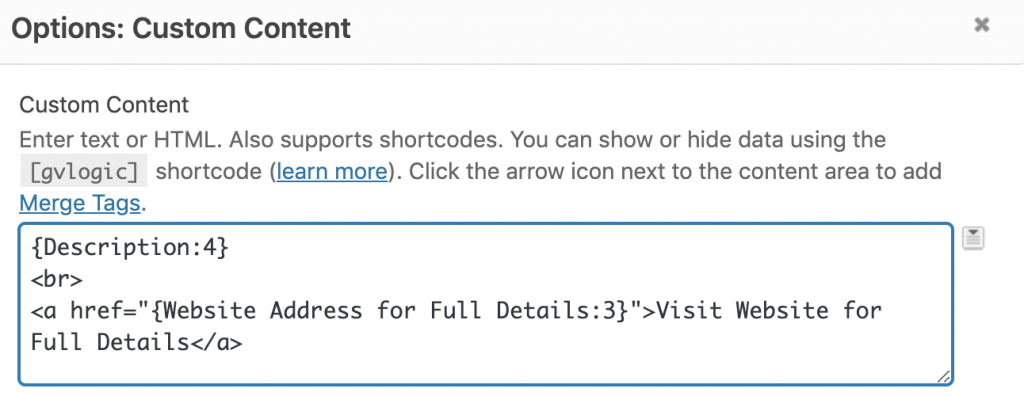
To create the custom labeled link in the What field, I used html: <a href=”[website address]”>Custom Text Here</a>. Where the website address belongs, I referenced the response from that question on the form. The website field is required on my form so I don’t have to worry about a broken link here. This is what my html looks like:
<a href=”{Website Address for Full Details:3}”>Visit Website for Full Details</a>The full field looks like this:
In the Who field I combined the Organization Name and Contact Email Address into one field. You may also want to include a contact name, phone number, or other relevant information about who is hosting the event.
The Where field is a simple display of my Event Address field.
In the When field, I used the same combination of fields from the Multiple View.
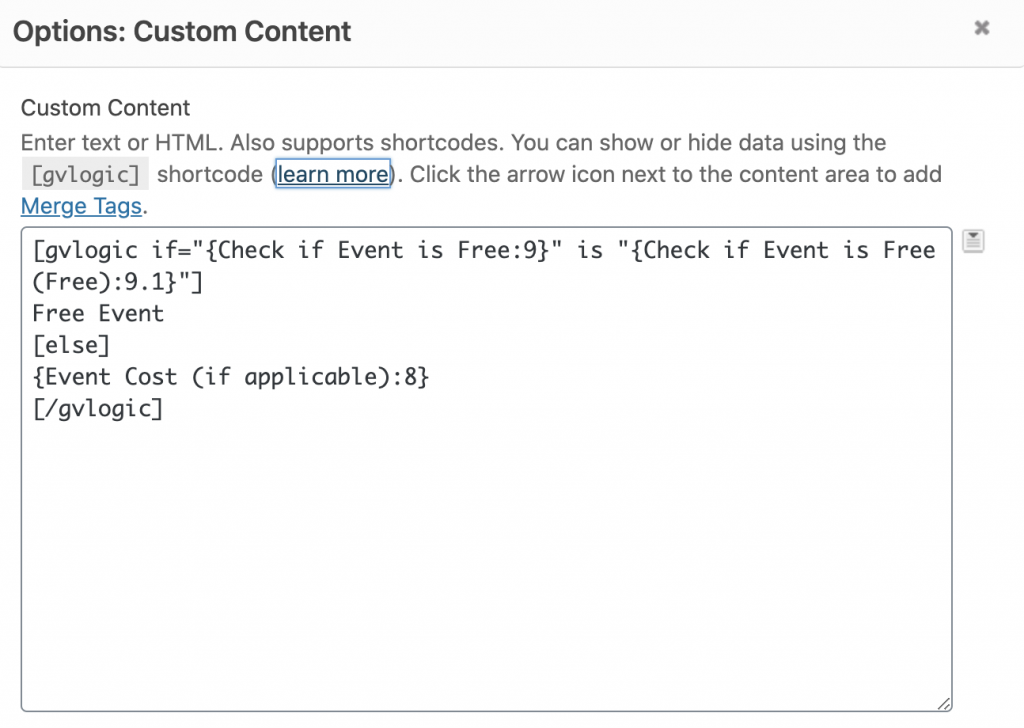
Since I’ve created two fields to collect pricing information (the Free Event checkbox and the Single Line Text field), I used gvlogic to determine what should show in the How Much field.
The [gvlogic] Shortcode
Learn more about [gvlogic] here or by clicking on “(learn more)” in the Custom Content options.
This is what my [gvlogic] looks like:
In the final field, For Whom, I simply displayed the checkbox field from my form. The View automatically displays any of the choices that were checked and adds a bullet point in front of each.
As you can see in the image of the final layout above, I bolded my titles just as I did in the Multiple View. If you want to make any additional changes to the formatting, you can use custom CSS.
Now that the Multiple View and Single View are created, you’ll want to review the View Settings.
For this course, I want to point out one thing in the View Settings: Show Only Approved Entries is checked by default. If your form is accessible to the general public you probably want to leave this setting at its default value.
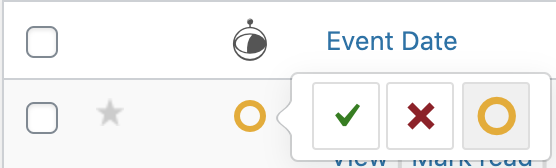
To approve entries, go to the Form Entries screen and you’ll see a yellow circle. That means the entry hasn’t been approved yet. When you hover over it, you have the choice to approve it (green check mark) or disapprove it (red x). With the View Settings set to show only approved entries, only entries with a green check mark will be displayed live on your View.
View Settings
There is a more detailed review of the View Settings in the Create a Member or Team Member Directory with Gravity Forms course.
In the next lesson, we will add a Calendar to this View.