Create the Community Events View
Back to: Collect and Display Community Events with Gravity Forms and GravityView
Now that your form is complete, it is time to set up the View – the way it will display on your website. Once you have installed GravityView, on the form edit screen you will find a new button labeled Create a View. Click there to get started.

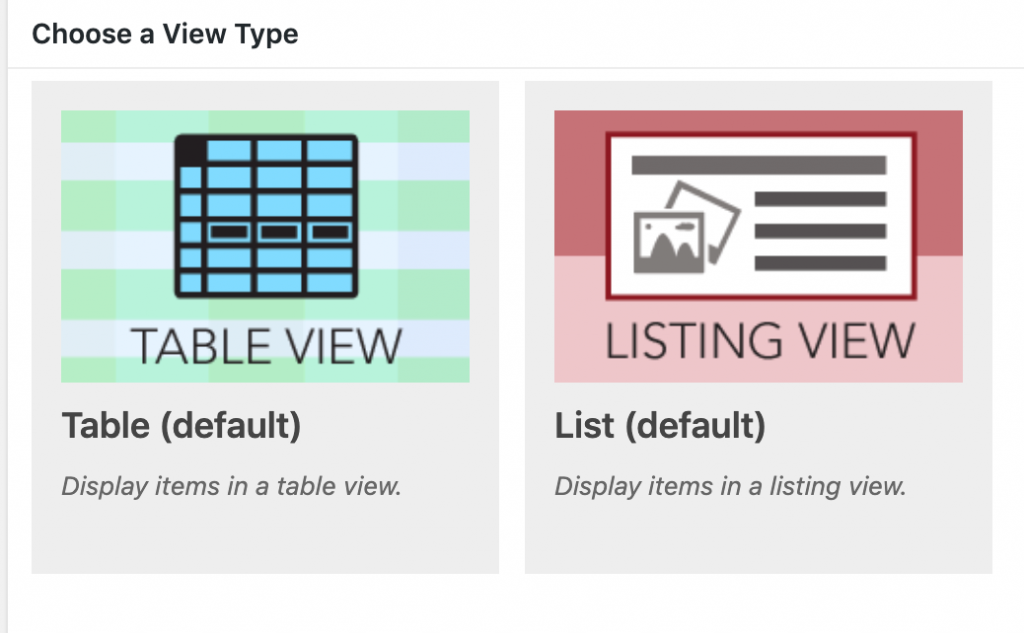
If you have the basic license, you’ll be able to choose from Table View or Listing View. For this form we’ll use Listing View.
In the View Configuration section of the screen there are three tabs. Let’s start with Multiple View. This is where you will show a summary of all of your listings in one place.
We’ll start with the Entries Fields, which sets up what shows for each entry. Here is what it looks like once I’ve selected my fields.
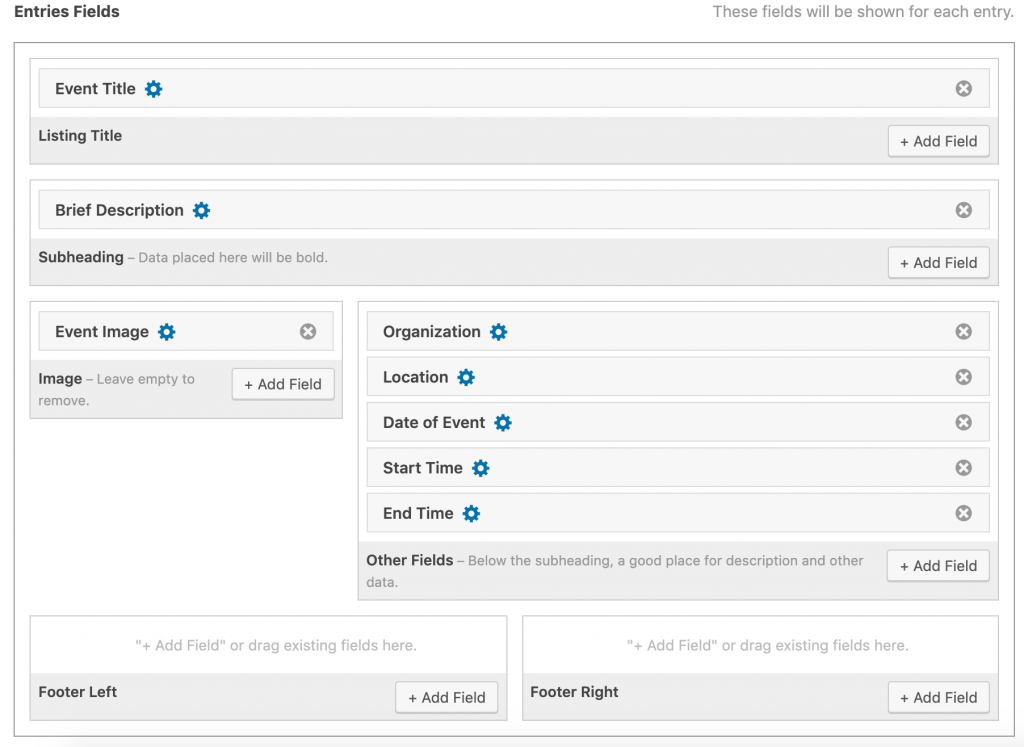
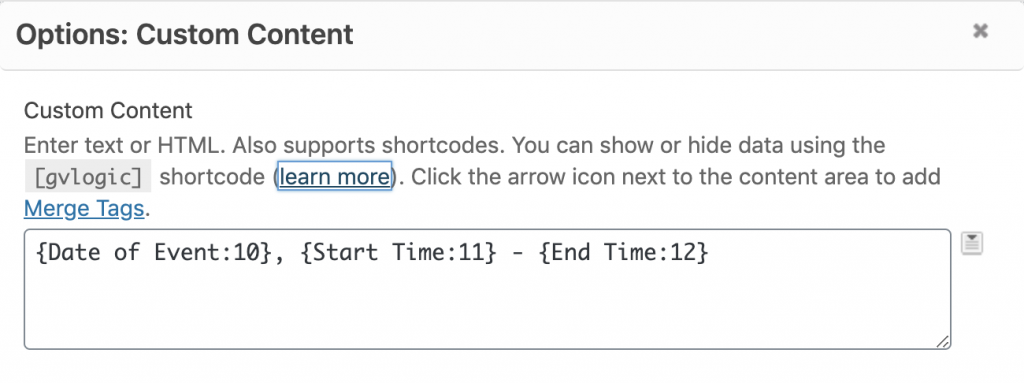
Notice that I added a Custom Content field. In this field I included the entry information from the event date and event start and end time fields. Putting all of this information on one line makes the view more concise. Learn more about Custom Content Fields here.
Now let’s make a few changes to the settings to enhance the look.
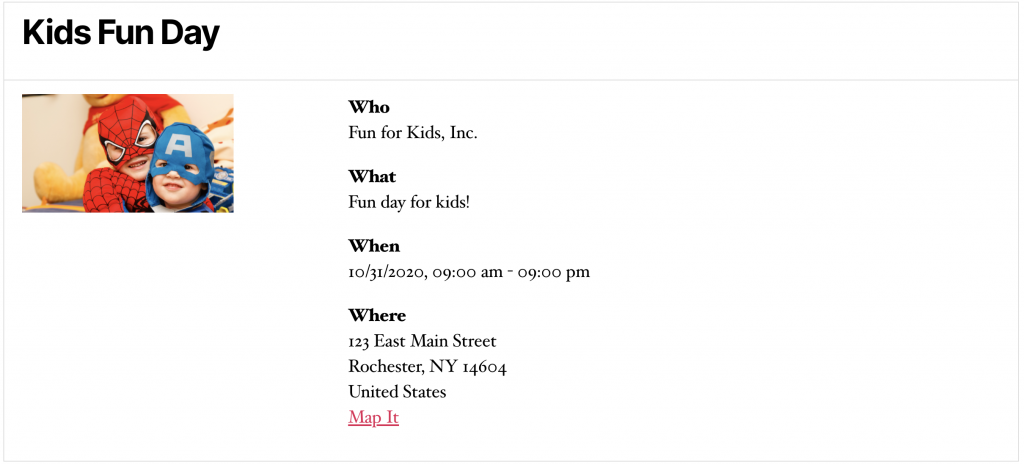
For all of the Other Fields let’s show the label, but make them more fun. I am changing mine to Who, What, When, and Where.
To make my new custom labels stand out from the rest of the text I used a bold html tag (e.g. “<b>Who</b>”).
The final result looks like this:
In the next lesson we will set up the detailed Single View.