Create a Calendar View
Back to: Collect and Display Community Events with Gravity Forms and GravityView
License Note
To add a calendar to your View, you’ll need a GravityView All Access License, or you can purchase the Gravity Forms Calendar plugin separately.
To install the plugin as part of an All Access License, click on Extensions from the Views menu.
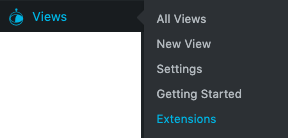
From there find the Gravity Forms Calendar extension and click Install, then Activate.

Once activated, you’ll see a new option to create a calendar when you hover over your forms list.

After creating your calendar, name your feed, then match up the date and time fields from your form to the calendar.
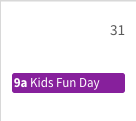
Next, set your event title and description. The title will appear on the calendar like this:
The description will appear when you hover over the event title on the calendar. It will look like this:

For the title and description you have the option of using fixed or partially fixed descriptions and/or using merge tags to add dynamic content to these fields.
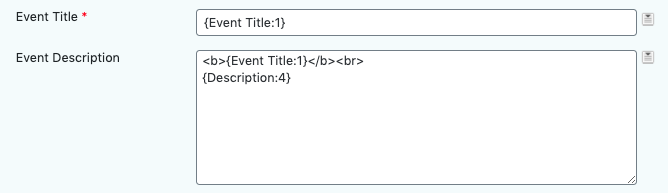
You can add any information you want to the Event Description box. I opted to add my title in bold and then put a description below it. You could include the event’s address, the target audience, or any other information that would be helpful to see at a glance.
Next you’ll set the Event URL. Setting this up turns the title into a link, so when a visitor clicks the title they will be redirected to the URL that is tied to this event.
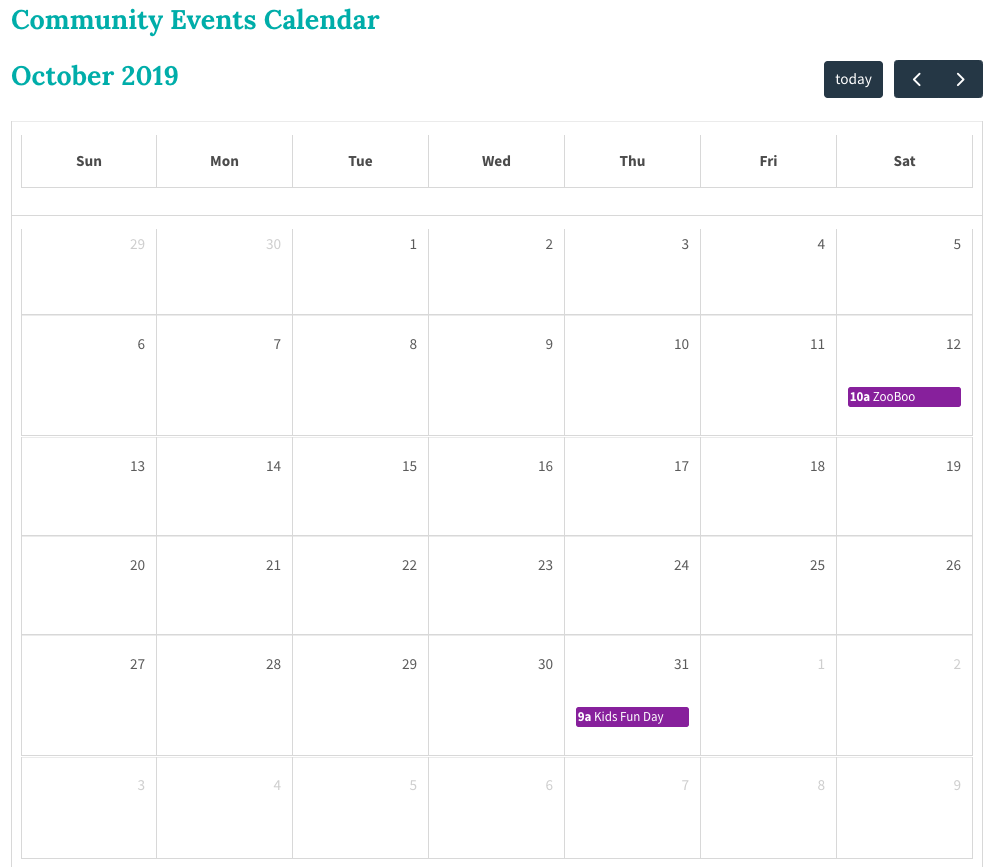
After the URL, you’ll choose a color for your events. This is what it looks like on my site when I chose purple for the event color. (The calendar does a nice job of picking up your theme settings for the headings.)
Adding Multiple Colors
The standard calendar will allow you to choose one color for all events included on the calendar. To add multiple colors, you can use this custom code.
In the Calendar Settings, you can choose a number of different configurations for the layout of your calendar. In the layout above I left all the parameters at their defaults.
You also have the option of using conditional logic to determine which events will be shown on the calendar. This is useful if you would like to show different events on different pages on your site. You can connect multiple calendars to one form to make this easy.
Once you have all of your settings completed, you can embed the calendar on a page.
You can also choose to add the calendar as a widget to an existing View. This is what that looks like in the Above Entry Widgets above a Listing View.
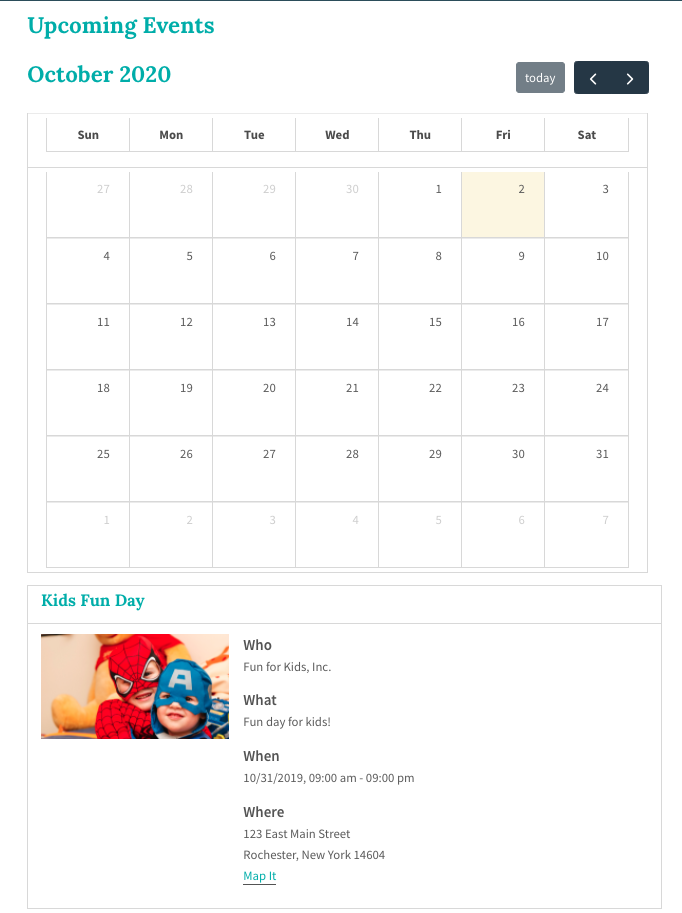
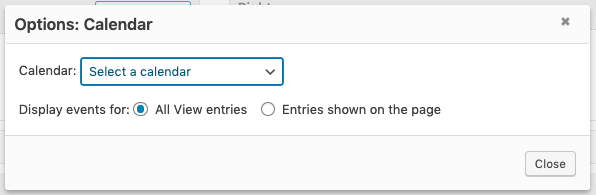
To set this up, choose Calendar in the Above Entries Widget field. Then click the gear icon and choose which calendar you would like to show with this view. You can decide whether to show all the events that meet the parameters of the View or only the entries shown on the page (in case your listings stretch across multiple pages).
In the next lesson, we will look at other View options you may want to use.