Build a donation form
Back to: Collect and Display Donations on Your Website
License Note
You can get a head start on the donation form using this Gravity Forms template, or you can start from scratch.
You’ll probably want to collect at least the donor’s name and email address. You may want to give them a place to add a note and the option to display their donation anonymously. Then you’ll need a payment field.
Let’s start building!

First, I added required fields for Name and Email address.
Next, I added a Single Line Text field to allow the donor to include a message with their donation. Alternatively, you could choose to allow them more room for their message using a Paragraph Text field. I also added a field description telling the user that their message will be displayed publicly.
Next, I added an option to display the donation anonymously, with a description that indicates that the fundraiser will see the donor’s name, but the public display will show “Anonymous”.
Finally, I added the donation fields. You’ll want to start with a Product field. There are several types of Product fields, so let’s review the options:
- Single Product – use this if you only want users to be able to donate a certain amount (e.g. $20).
- Drop Down & Radio Button – these allow you to suggest various pricing levels so that your donors can choose the best option for them.
- User Defined Price – this allows your donors to enter any donation amount they choose. (Gravity Forms Price Range from Gravity Perks allows you to set a minimum and maximum price on this field if you would like to restrict it.)
- Hidden & Calculation – we will not be using these options for this form.
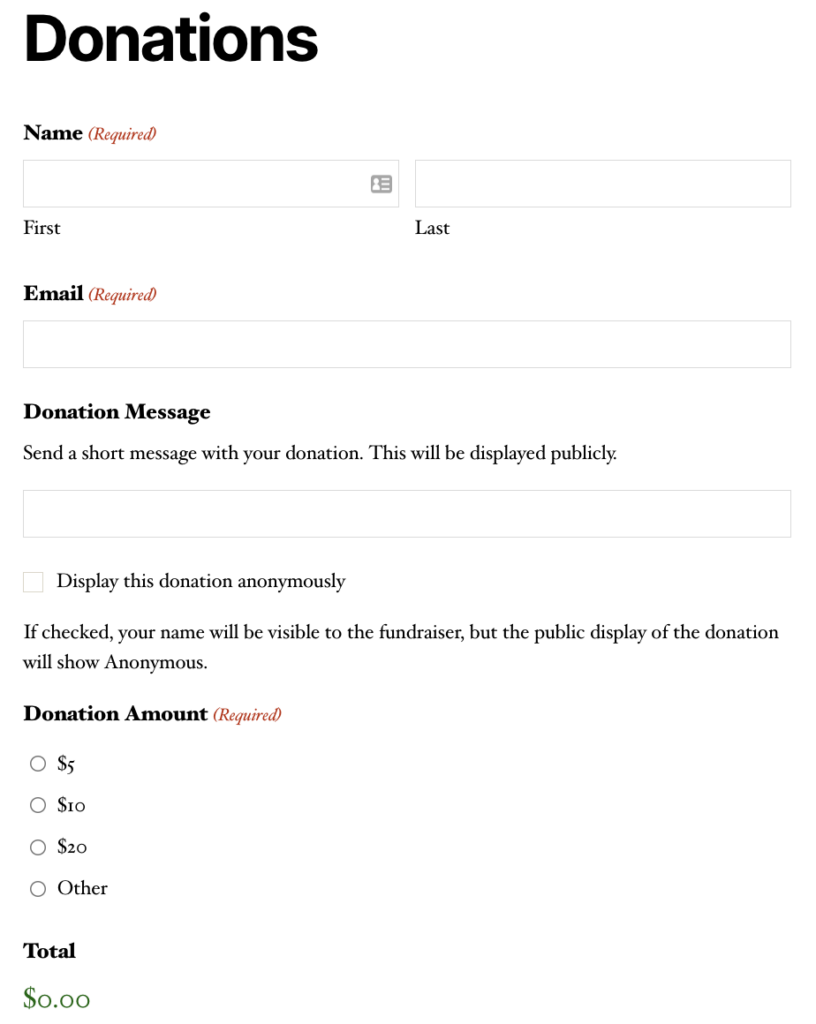
I used the Radio Button product field type and set three pricing levels: $5, $10, and $20. I also added an “Other” option. Gravity Forms does not support an “Other” option out of the box like they do with a standard radio button field, so this requires a small workaround – Simply add a fourth option, and give it a label of “Other” and a price of $0 as seen below.

Next, add another Product field and set the field type to “User Defined Price”. Make this field required and then enable conditional logic.
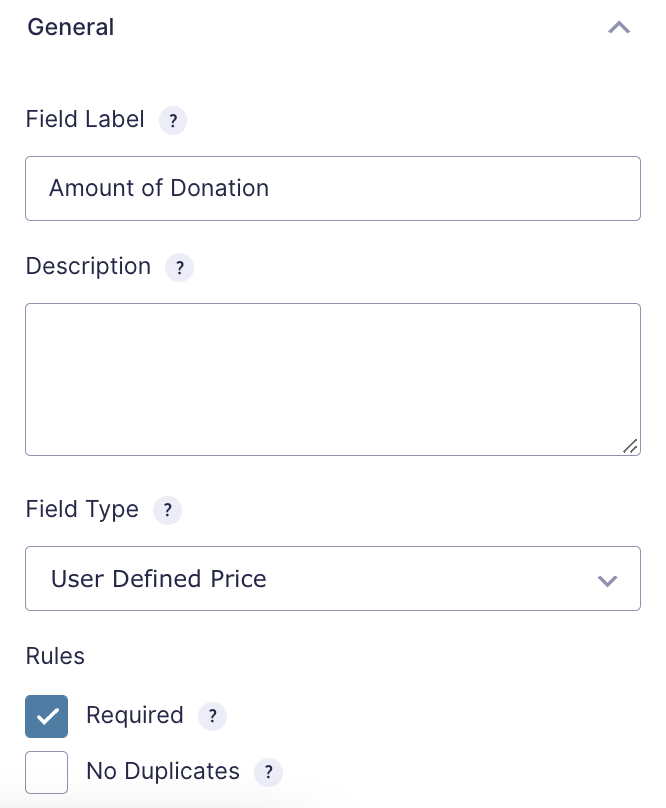
Set the conditional logic to show this field when the “Other” option is selected in the field above.

Next, add a Total field. When you’re done, your form should look like this:
Finally, add the field of your preferred payment gateway. Gravity Forms integrates with Stripe, PayPal, Authorize.net and other payment processors. Once you’ve chosen a payment gateway, install the required plugin and configure the feed.
After you’ve updated your confirmation messages and notifications, enter a few test entries so you’ll be able to see what they look like in your View.