Automate a Weekly Report to be Sent to Your Email
Back to: Automate Your Gravity Forms Reporting with GFChart and Gravity PDF
The GFChart documentation on Scheduled Notifications notes that the WordPress scheduling feature is not always accurate. They recommend using a plugin like SetCronJob if your site host does not offer a more accurate scheduling feature. In addition, they note that Gravity Forms delivery can sometimes require fine tuning to make sure it makes it into your inbox. They recommend the Gravity Forms troubleshooting advice to sort this out.
With those disclaimers out of the way, let’s dive in! You should have already installed the Scheduled Notifications add on in the previous lesson. If not, do that now.
Create a New Form for Weekly Report Delivery
To set up the weekly report, we’ll start by creating a new form. We’ll only be using the Notifications feature of this form, but to be a valid form it has to have at least one field saved in it. Add any field you would like and then save the form. Once that is done, go to the Notifications settings.
Let’s edit the Admin Notification to meet your needs. Change the name to Weekly Conference Email. Enter the email address you would like the form sent to. You should set it to your email address while you are testing the form.
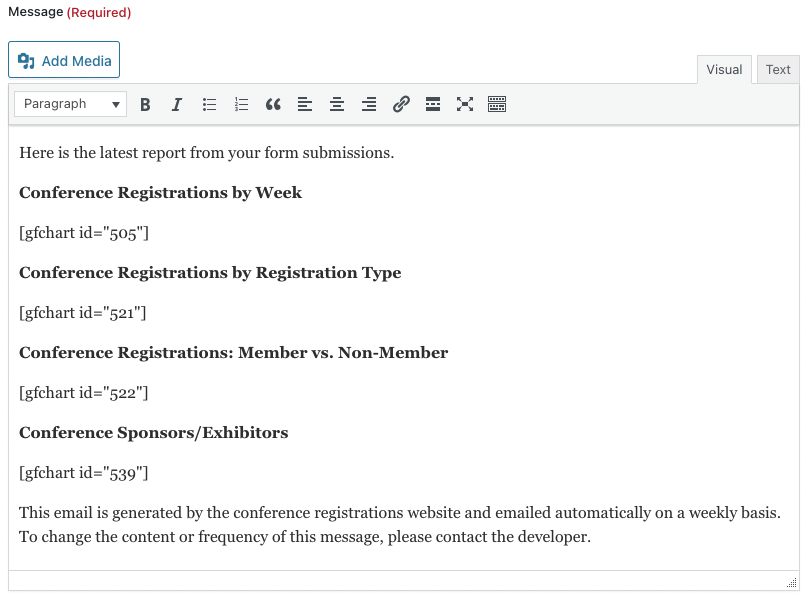
Fill in the next few fields to meet your needs. In the Message field copy and paste the GFChart shortcode for each of the charts that you would like to include in the weekly email, along with any other information you’d like to include in the email. This is what mine looks like on the backend.
To test what the email will look like, preview your form and submit a test entry.
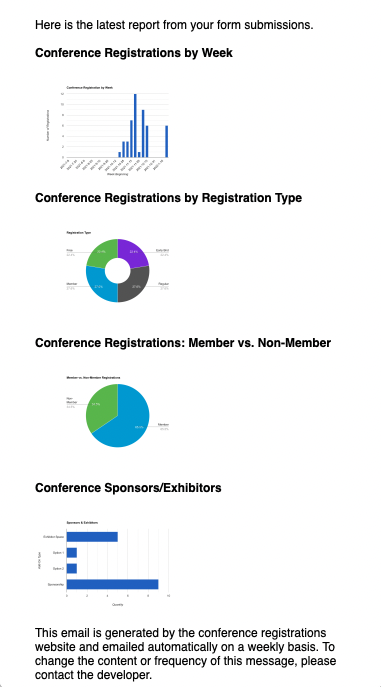
This is what it looks like in my email (charts are shrunken to not take up too much space on this page, but, if expanded, would be legible):
Now that the email is set up and tested, it’s time to automate the delivery.
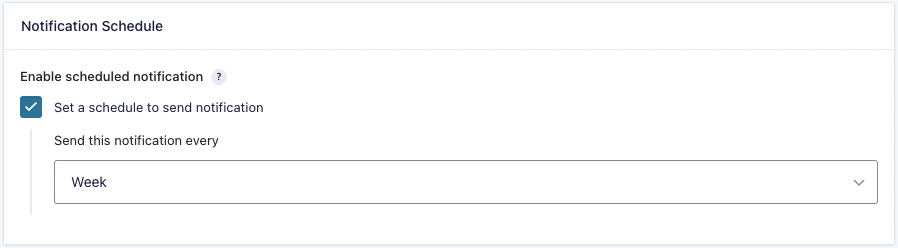
Below the message you created, there is another box labeled Notification Schedule. Within that box, check Set a schedule to send notification and choose Week from the dropdown box.
With this notification set up, you will now receive an email each week at approximately the same time. To fine tune the scheduling of this delivery and to test the delivery without waiting a week between each test, continue to the next step.
Set Up Your Delivery Schedule
First, ensure that your WordPress install is set to the proper timezone by checking your settings. Choose the settings menu from the Admin menu, then choose General. Scroll down to Timezone and ensure that the correct Timezone is selected. If your location observes daylight savings time then selecting a city is better than a UTC offset because it will automatically adjust the time during time switches.

Next, install WP Crontrol (free from the WordPress Plugin Directory) to enable testing and to tweak the delivery schedule. Once you’ve installed WP Crontrol, submit a test entry to your form. Then go to Tools in the Admin menu and select Cron Events.
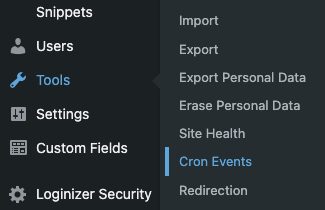
Toward the bottom of the list, you’ll find your GFChart Scheduled Notification. It will look like this:

Hover over the list item and you’ll see the options to Edit, Run Now, or Delete. Choose Run Now anytime you would like to accelerate the testing.
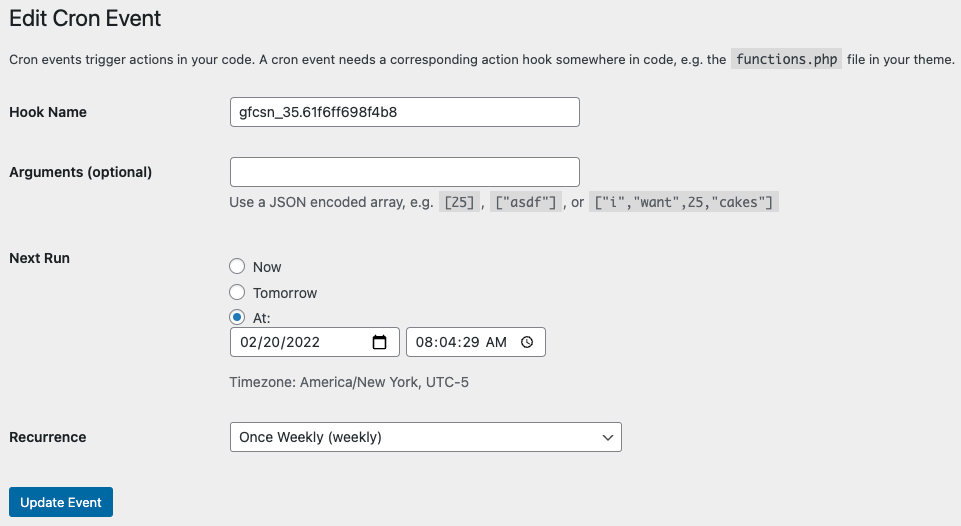
To change the schedule of delivery, click the Edit button.
In the Edit screen, adjust the next run time to meet your needs. You can also adjust the recurrence interval here to override the option you selected in your form notification.
With your scheduled notification tested and tweaked, continue to the next lesson to learn how to style your reports in a PDF.